The direct answer
Before cabinetry is released, the kitchen lighting and power plan should fix the appliance schedule, work zones, socket purposes, dedicated equipment points, switching logic, lighting layers, driver and transformer access, cable routes, control interfaces and the exact relationship to cabinets, panels and splashbacks. Each point needs a purpose, not just a symbol. The cabinet drawings and electrical drawings should be checked against each other at the same revision. Electrical design and installation must be completed by the appropriately qualified parties; this article explains coordination decisions for owners and designers, not wiring methods.
- Confirmed appliances
- Named socket purposes
- Lighting layers and controls
- Accessible equipment locations
- Coordinated cabinet and splashback details
Start with activities, not a grid of points
Map how the kitchen will be used: preparation, cooking, washing, coffee, breakfast, charging, serving and cleaning. Note which activities happen together and what sits permanently on the worktop. This exposes where power and light are genuinely needed. A long run of evenly spaced sockets may still miss the coffee station or land behind a tall appliance. Likewise, a decorative pendant can look attractive while leaving the preparation surface in shadow. Build the plan around named tasks, then test appearance and symmetry within that functional framework.
Freeze the appliance information that affects cabinetry
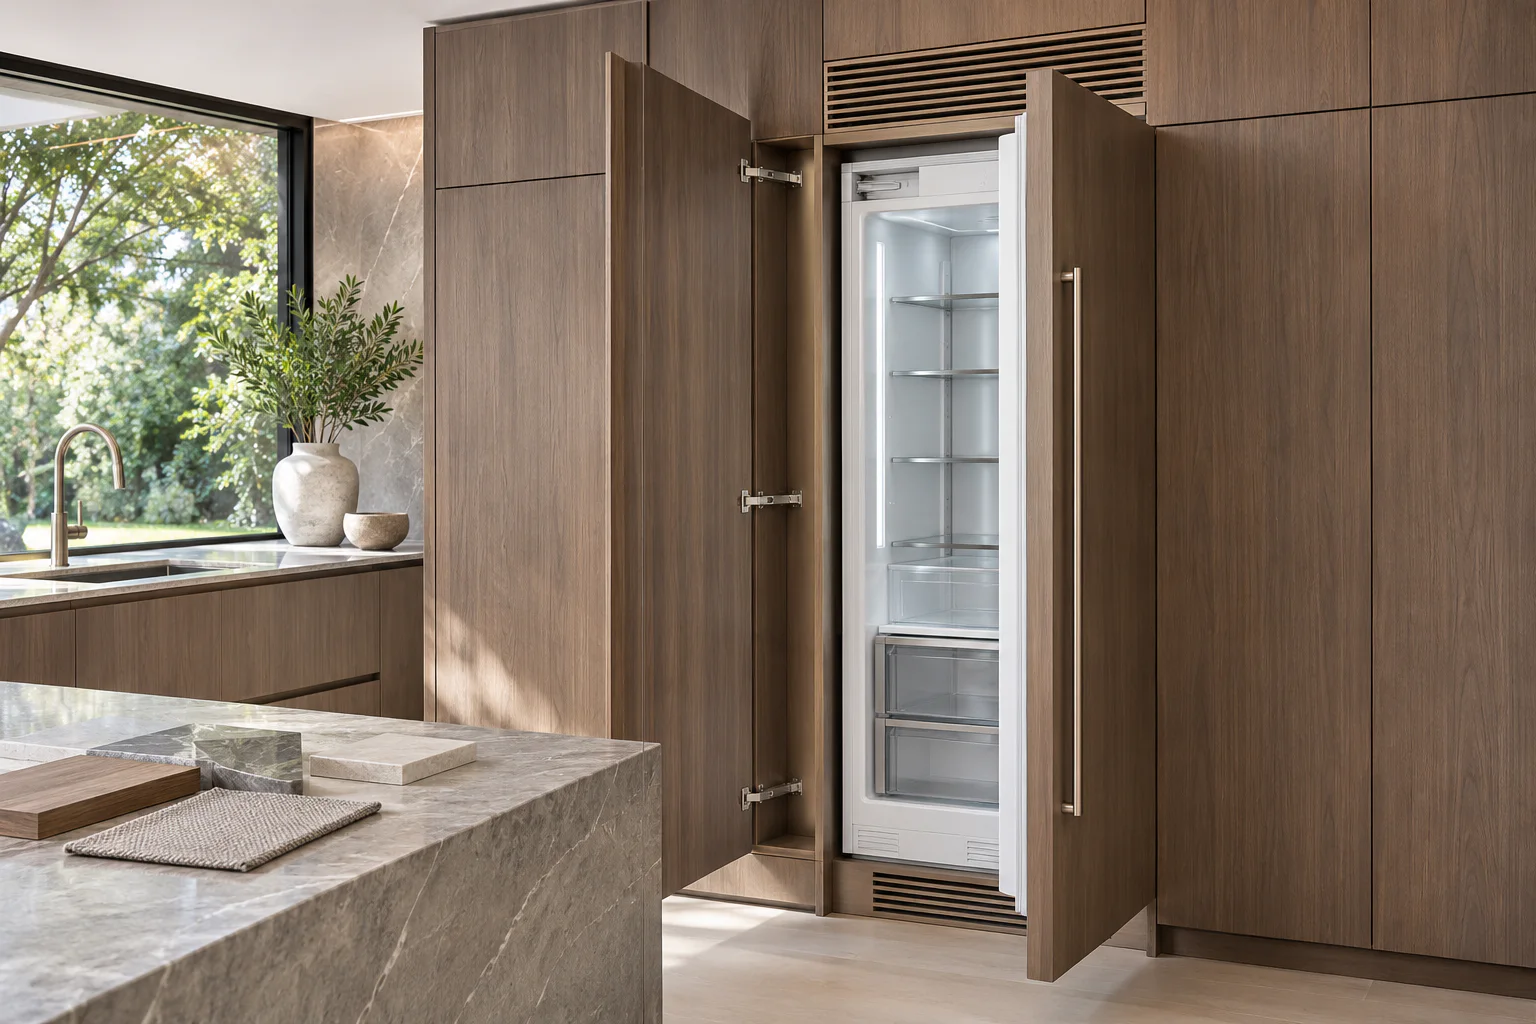
Record the final model or a fully defined allowance for every fixed and countertop appliance. The schedule should include verified dimensions, door and drawer movements, ventilation requirements, connection type, load information, isolation needs and access for service. Coordinate these facts with cabinet voids, fillers, plinths, worktops and adjacent doors. If a model remains undecided, mark the drawing as a hold point rather than designing around an assumed brochure image. A later substitution may change much more than the visible opening, so review the connected cabinet and electrical details before accepting it.
- Model and verified dimensions
- Opening and service clearances
- Connection and isolation requirements
- Ventilation and maintenance access
- Dependent cabinet dimensions
Use three lighting layers
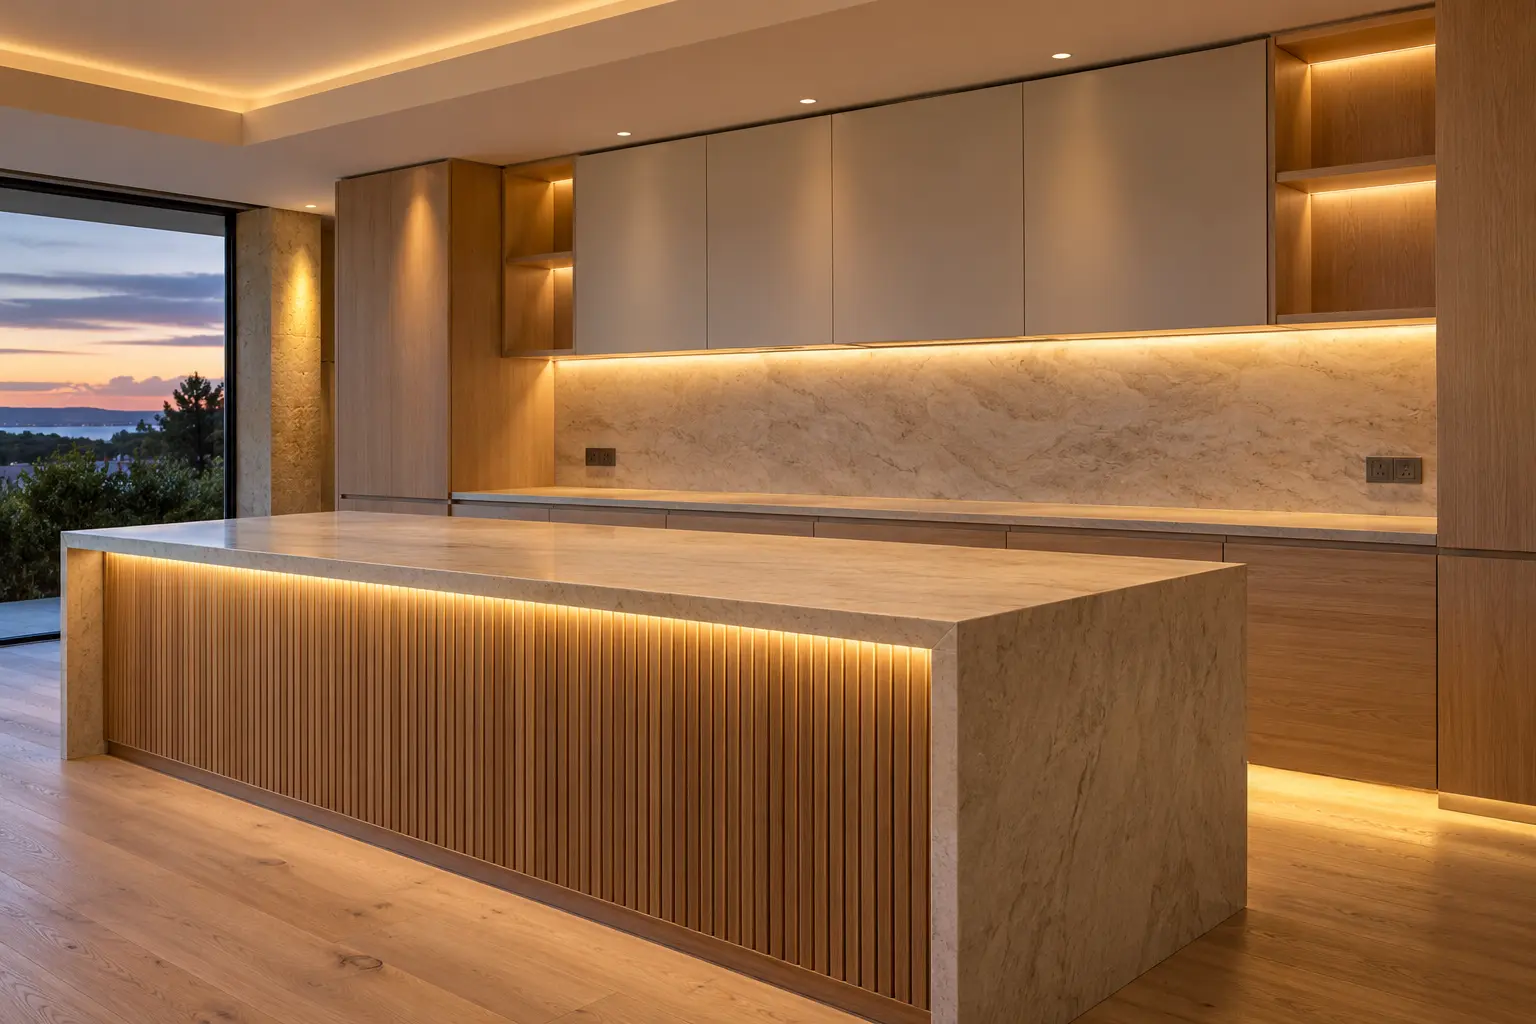
Plan ambient light for comfortable general use, task light for work surfaces and accent light only where it supports the design. Task lighting should be coordinated with the person’s working position so upper cabinets or the user do not cast unhelpful shadows across preparation areas. Under-cabinet profiles need a deliberate recess, wiring route and accessible driver location. Island lighting must align with the island, ceiling and sightlines rather than the empty room. Agree colour appearance, dimming and control zones using samples where possible; photographs cannot reliably show how a light source and finish will feel together.
- Ambient layer
- Task layer
- Selective accent layer
Coordinate sockets with surfaces and storage
Set each socket against an elevation, not only a floor plan. Check its height and side clearance against the worktop upstand, splashback module, drawer box, cabinet rail and appliance. Decide which small appliances remain plugged in and which are stored. For islands, coordinate the solution with construction, seating, drawers and circulation so a fitting does not project into knees or interrupt a working edge. Avoid burying isolators, drivers or control equipment behind fixed panels that cannot be removed. The finished detail should be usable, visually ordered and serviceable.
Planning example
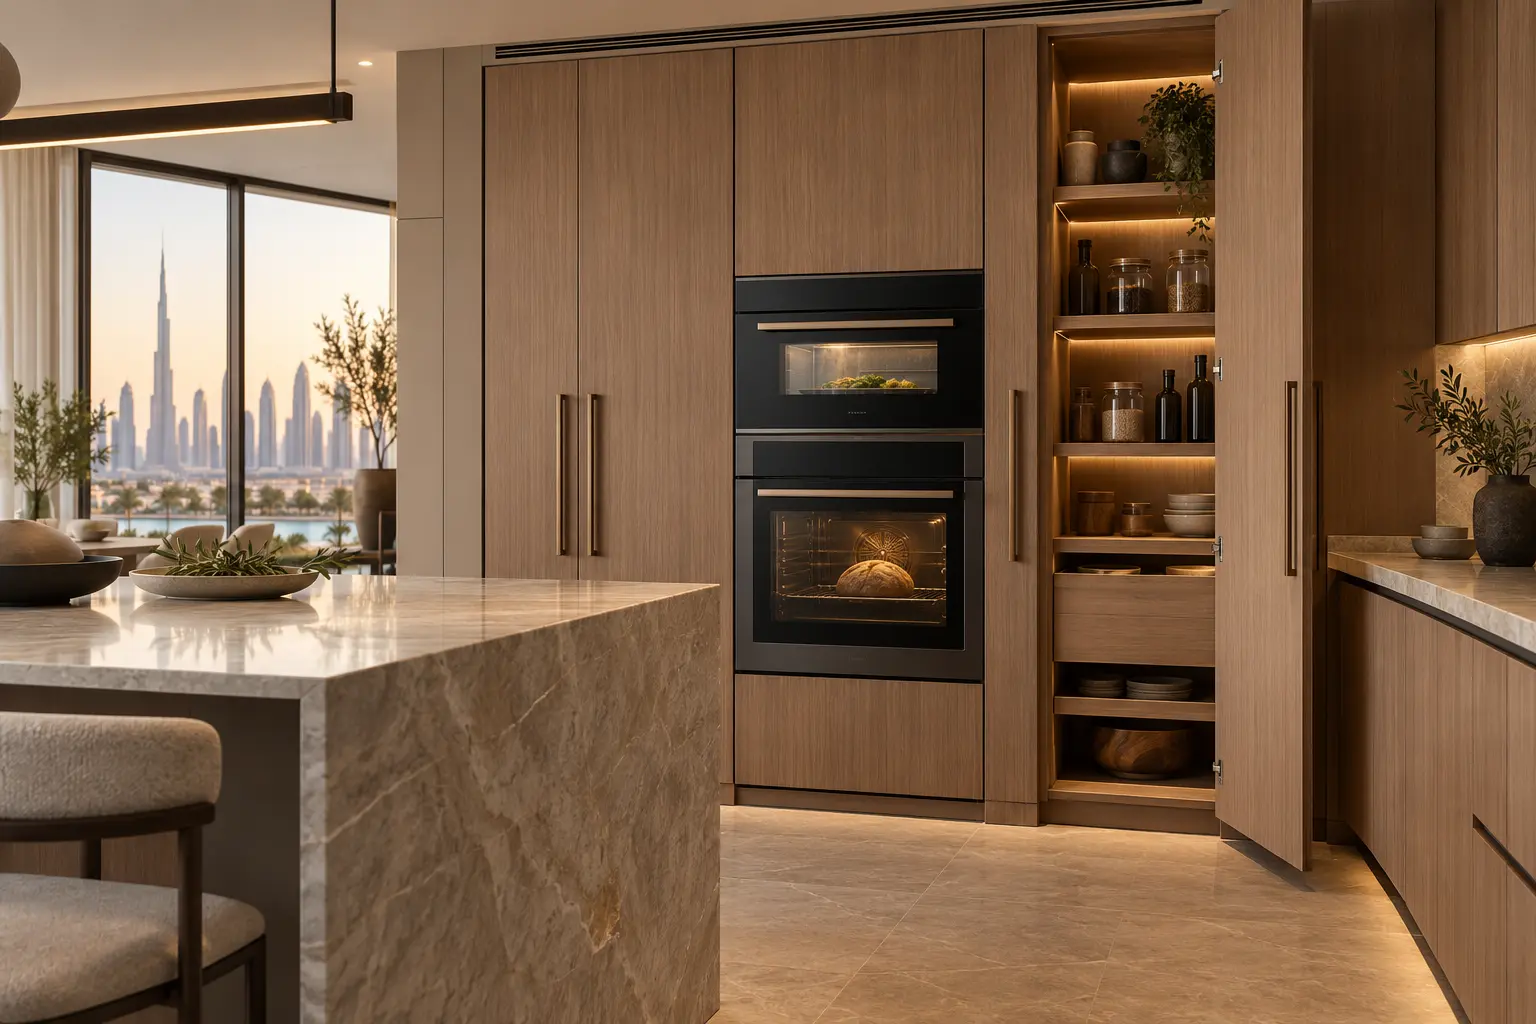
A kitchen includes a tall appliance wall, a coffee niche, a preparation run and an island used for breakfast. The appliance schedule fixes connection and ventilation information before cabinet approval. The coffee niche receives task light and power based on the actual equipment footprint, while its driver remains accessible through a removable panel. Under-cabinet lighting is recessed into the upper units rather than added after manufacture. Island pendants align with the island centreline, and power is coordinated away from stools and drawer movement. A single control scene is not assumed: preparation, evening ambient light and cleaning are tested separately. This is a planning example, not an electrical specification.
Run a drawing coordination hold point
Before manufacture and electrical first-fix proceed, review the same appliance schedule, cabinet elevations, reflected ceiling information and electrical layout together. Mark every point that lacks a confirmed purpose. Check that cabinet lighting profiles, sensor positions, switch plates and control interfaces are shown in the joinery package. Confirm that accessible locations for drivers and isolation have been agreed by the responsible specialists. The Dubai Electricity and Water Authority publishes electrical circulars and regulations for builders; the current applicable requirements should be checked by the qualified electrical team for the specific design.
Pre-manufacture checklist
Confirm that the appliance schedule is current, every socket has a named use, lighting layers have been tested against work zones and all components have accessible service locations. Check that wall and floor finishes are known so plates do not collide with joints or upstands. Review door, drawer and seating clearances with fittings in place. Ensure that late decorative selections cannot change required supports or wiring routes without reopening the approval. Finally, issue one coordinated revision and record who accepted it. Separate marked-up copies should not circulate after the hold point closes.
- Appliance data is complete
- Points match named activities
- Lighting profiles are detailed
- Controls and drivers remain accessible
- Finish joints are coordinated
- Cabinet movements stay clear
- One revision is approved
Limitations and the next step
This planning framework cannot calculate electrical loads, select protection devices, approve connection methods or replace site testing. Those responsibilities remain with the appropriately qualified electrical designer, contractor and other appointed professionals working to current project and authority requirements. The next step is to place the confirmed appliance schedule beside the cabinet elevations and mark every light, socket, control and service-access point. Resolve each interface in a joint review before cabinetry manufacture and electrical work move forward. Keep substitutions controlled so the installed kitchen still matches the coordinated design.
Sources & further reading
Make this useful for your project.
A review of your property and priorities can turn general guidance into a defined brief.
Explore our servicesDiscuss your project