The direct answer
A tall-appliance brief should name every exact model, collect its current installation drawing, set the finished appliance heights around the users, and coordinate cabinet apertures, ventilation, front alignment, door swings, electrical or water connections and service removal. It should also define what happens if the model changes after drawings are approved. A neat bank of black glass is the final result of several technical interfaces; it should not be designed from nominal appliance widths or catalogue pictures alone.
Freeze the model before the aperture
Record the manufacturer, full model code, region-specific version, finish, dimensions, installation manual date and procurement status. Built-in appliances that look similar may have different niche sizes, ventilation openings, cable lengths or door projections. Miele's current H 7860 BPX page, for example, provides operating instructions, CAD data and installation drawings and explicitly directs installation and maintenance to authorised experts. Use the selected appliance documentation as the source, then make the cabinet drawing reference the same model and revision.
Set heights from use, not symmetry
Test how the main users load and remove a heavy roasting dish, tray or steam container. Consider the open door, hot surface, visibility into the cavity and a safe nearby landing area. A compact appliance stacked too high can be difficult to use even if its glass aligns beautifully with a tall cabinet grid. Record the proposed base and handle heights on the elevation, then review them at full scale or against a physical reference. Accessibility and individual needs may require specialist advice; avoid presenting a single standard height as correct for every household.
Coordinate door and handle movement
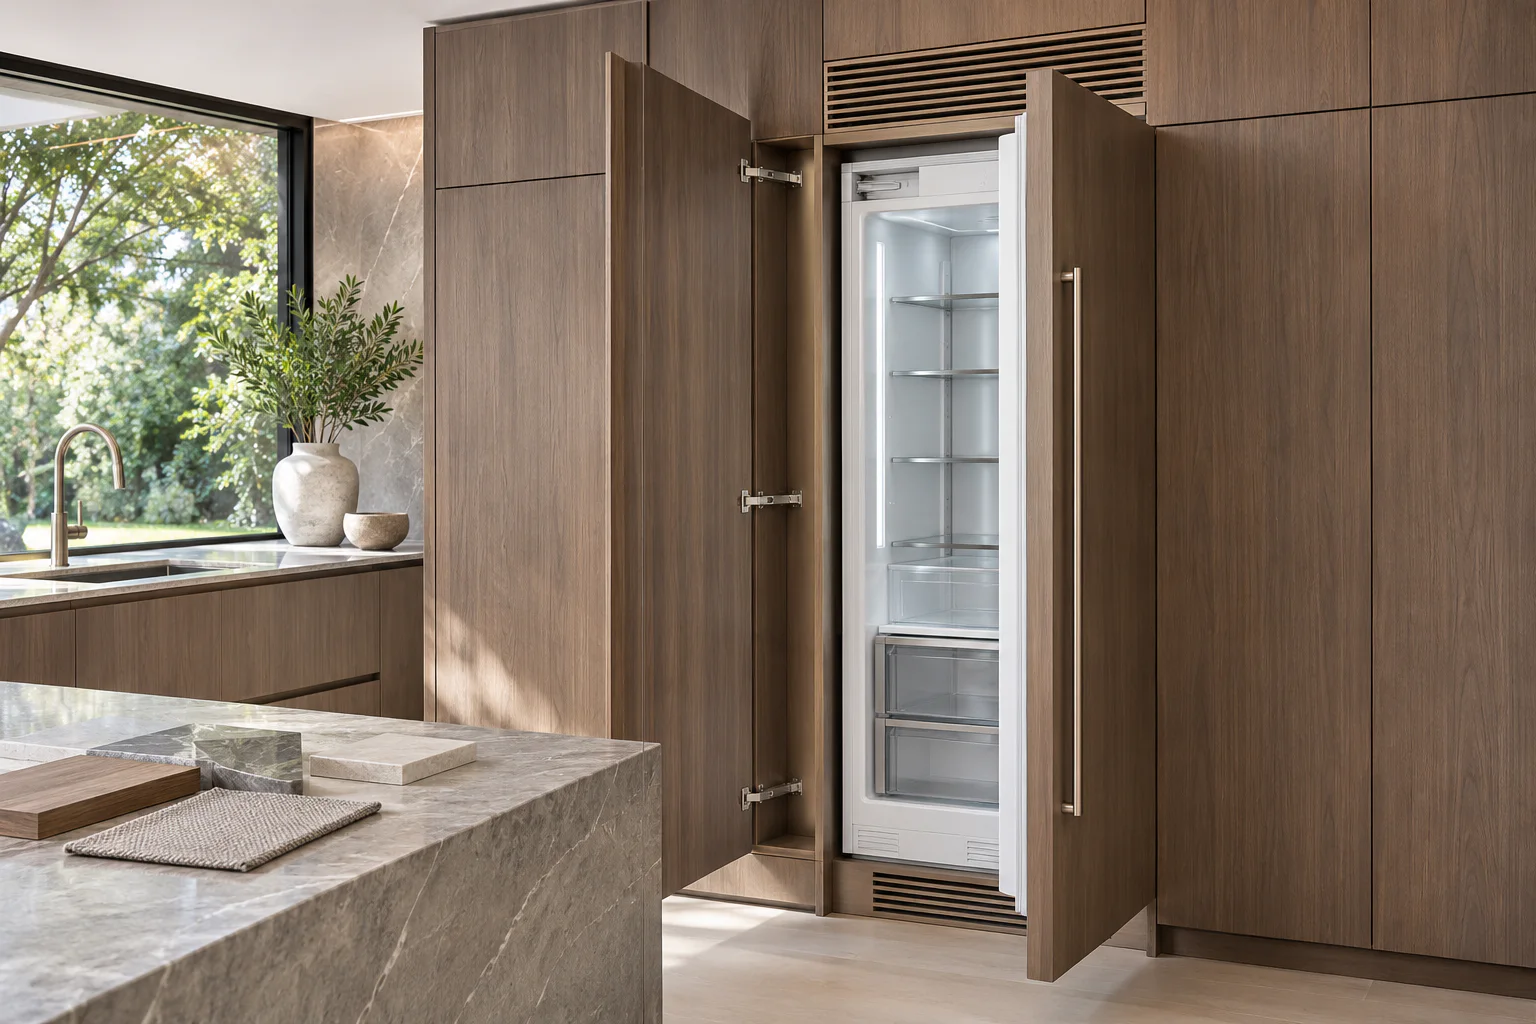
Draw appliance doors open and show adjacent cabinet, pantry and room circulation. Check whether a side-hinged, drop-down or lift door conflicts with a return wall, pocket door, drawer handle or another user. Include the appliance-front projection and any handle beyond the cabinet plane. Miele's current compact steam-oven information includes separate drawings for the swivel range and tall-cabinet installation, demonstrating why the operating envelope belongs in the design review. Cabinet doors beside the stack must also open far enough for internal drawers or pull-outs to clear their hinges.
Treat ventilation as model-specific
Do not copy a decorative slot from another kitchen. The exact installation drawing may identify ventilation openings, air paths and zones that must remain unobstructed. Current Miele oven drawings, for example, show a defined ventilation cut-out for the referenced model, while Miele's fault guidance links blocked oven air ducts to insufficient appliance ventilation. Those facts cannot be transferred to a different product without its documentation. The designer and authorised installer should coordinate the cabinet plinth, rear void and top details so the required path remains open after panels and skirting are fitted.
Keep services outside prohibited zones
Map the cable, isolator, socket, water inlet, drain and shut-off requirements for the selected appliances. Some steam ovens include both water and drain interfaces and state hose lengths, routing limits and no-connection zones in their installation information. The qualified electrical and plumbing designers must define the actual connection and protection; the cabinetmaker needs the approved locations and access strategy. Avoid trapping a socket or valve where the appliance must be removed to isolate it, unless the approved product and service design explicitly provide for that arrangement.
- Exact model and regional installation manual
- Power rating and qualified electrical design
- Water and drain interfaces where applicable
- No-connection and ventilation zones
- Isolation and maintenance access
- Removal path and floor protection
Planning example
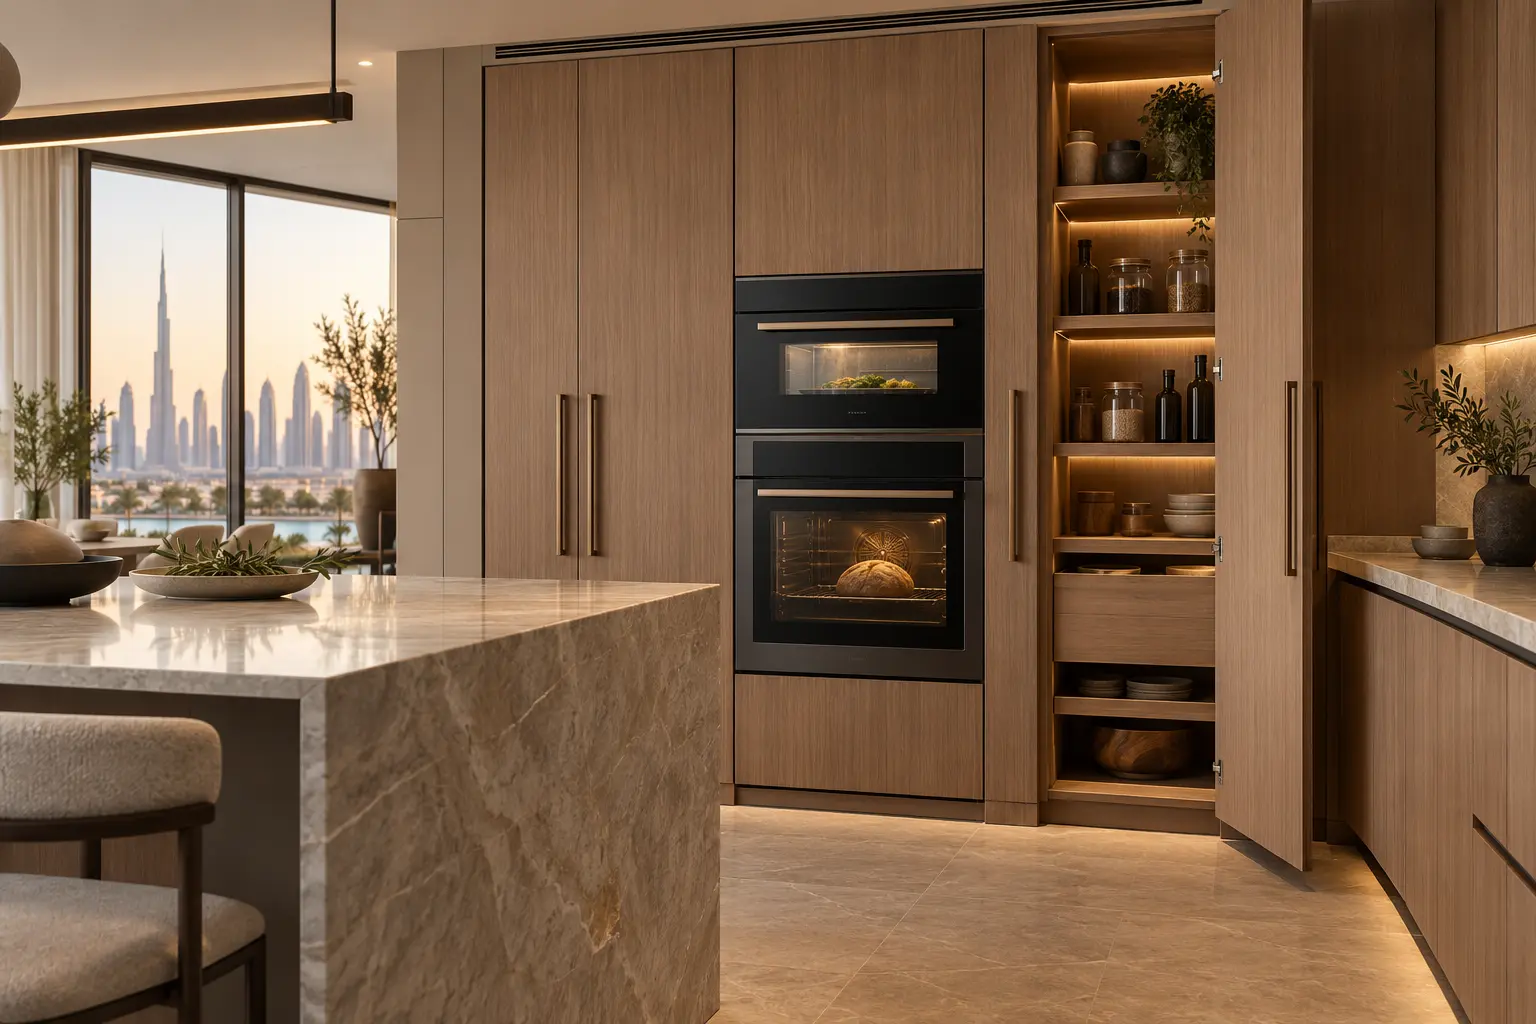
A fictional kitchen stacks a full-size oven below a compact steam oven. The first elevation centres the pair within tall doors, but the steam-oven handle sits above comfortable reach for one user and its water connection falls in a prohibited zone. The revised design lowers the stack, moves one shallow drawer below it, assigns connections to an adjacent accessible service bay and checks both doors open beside the pantry. The appliance drawings and cabinet elevation receive the same revision. This is a coordination example, not an installation specification for any real product.
Pre-manufacture checklist
Complete this review before cabinet panels are cut or appliance housings are released.
- Every appliance has a confirmed full model code
- Current installation drawings and manuals are attached
- Apertures, support and front projections are coordinated
- Handle heights and hot-container landing space are reviewed
- All doors and adjacent drawers are shown open
- Ventilation paths and cut-outs match exact product data
- Electrical, water and drain interfaces are specialist-approved
- Isolation and service access remain practical
- A substitution rule and reapproval responsibility are recorded
Limitations and next step
This article does not replace manufacturer instructions, authorised installation, electrical or plumbing design, or the cabinet fabricator's shop drawings. Appliance specifications can change and regional variants may differ. Confirm who receives, inspects and stores the appliances, and whether a physical unit is required before the final cabinet check. Ask for one coordinated tall-unit elevation that lists the exact models and shows apertures, finished heights, open doors, ventilation and connection zones. Review it with the user, kitchen designer, cabinetmaker, appliance supplier and qualified service trades. Release manufacture only when their information agrees; otherwise a small model change can turn a composed tall cabinet into a site alteration.
Sources & further reading
Make this useful for your project.
A review of your property and priorities can turn general guidance into a defined brief.
Explore our servicesDiscuss your project