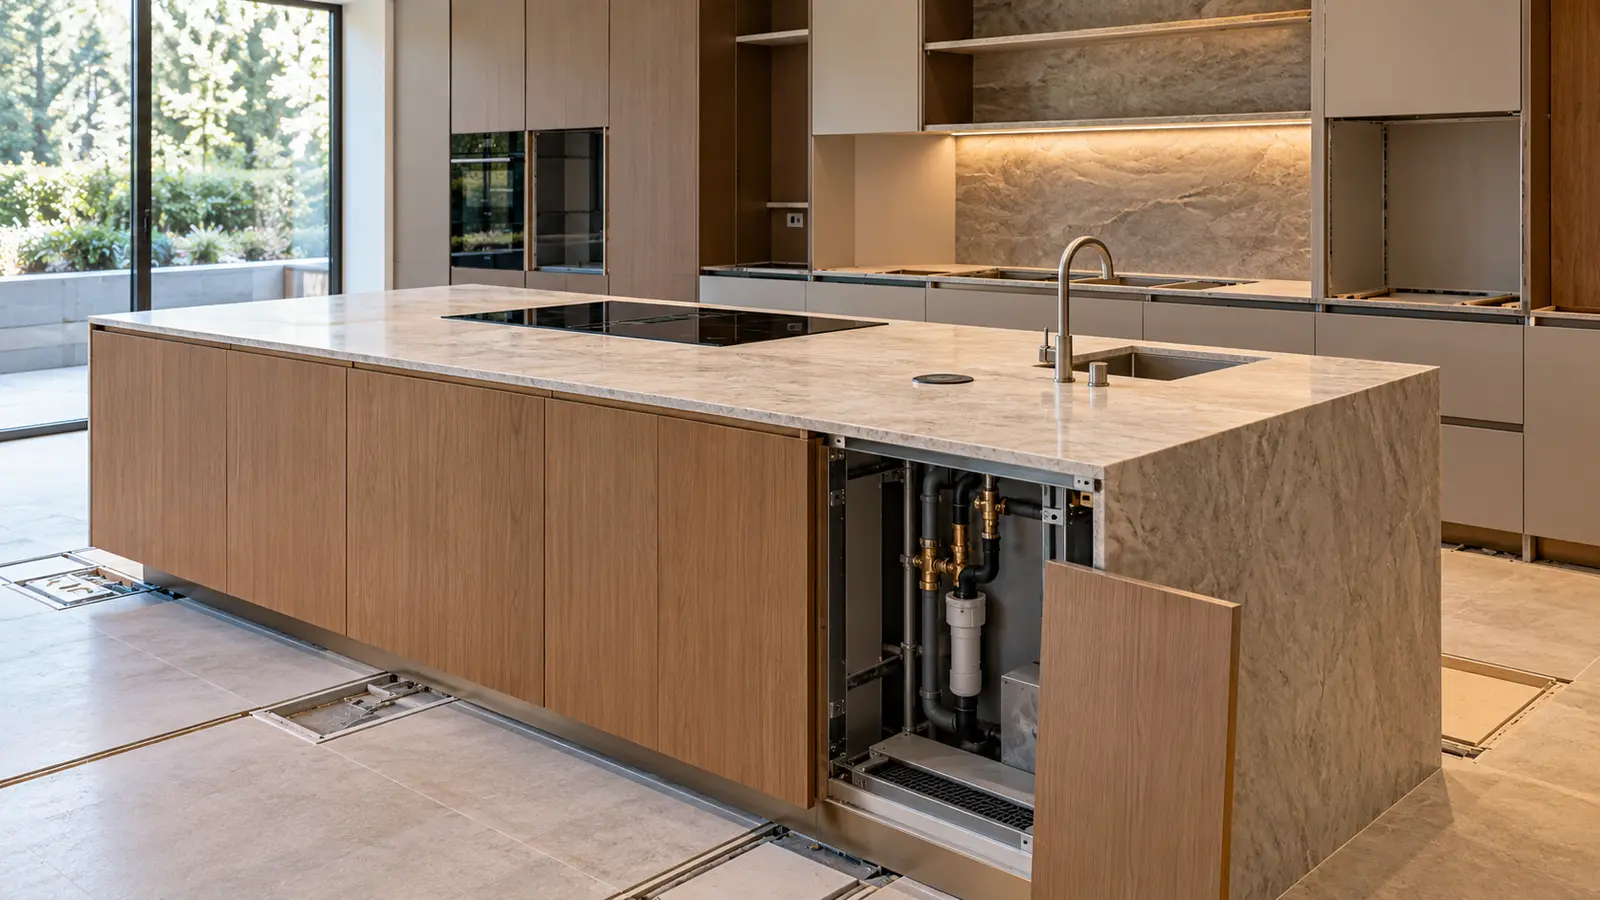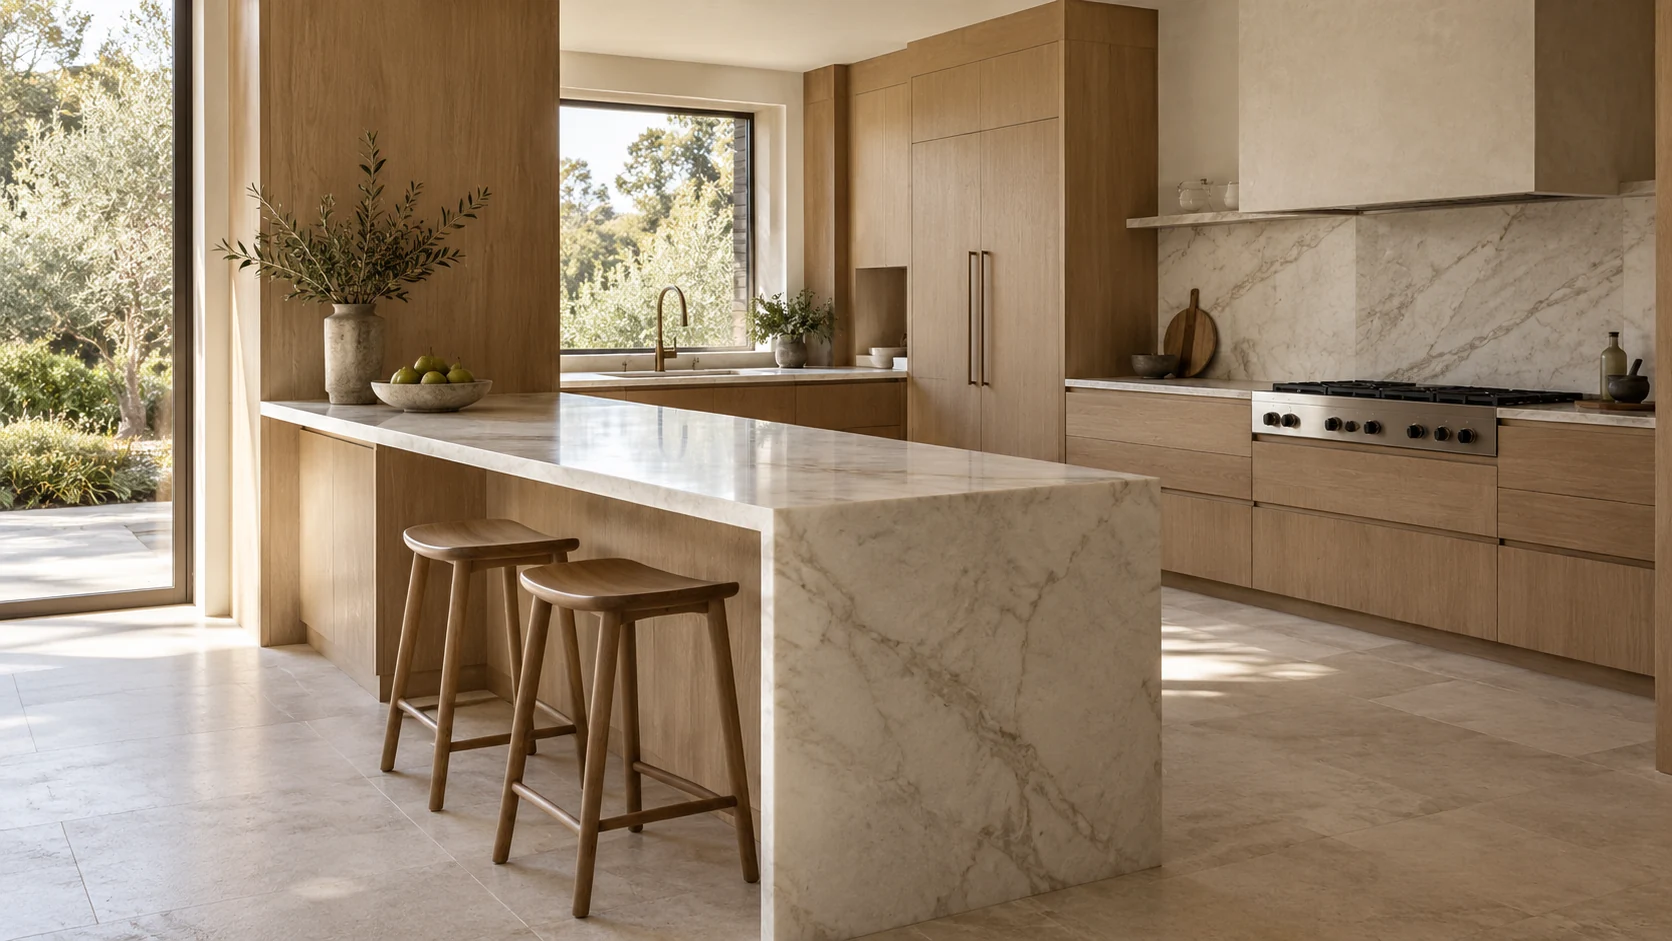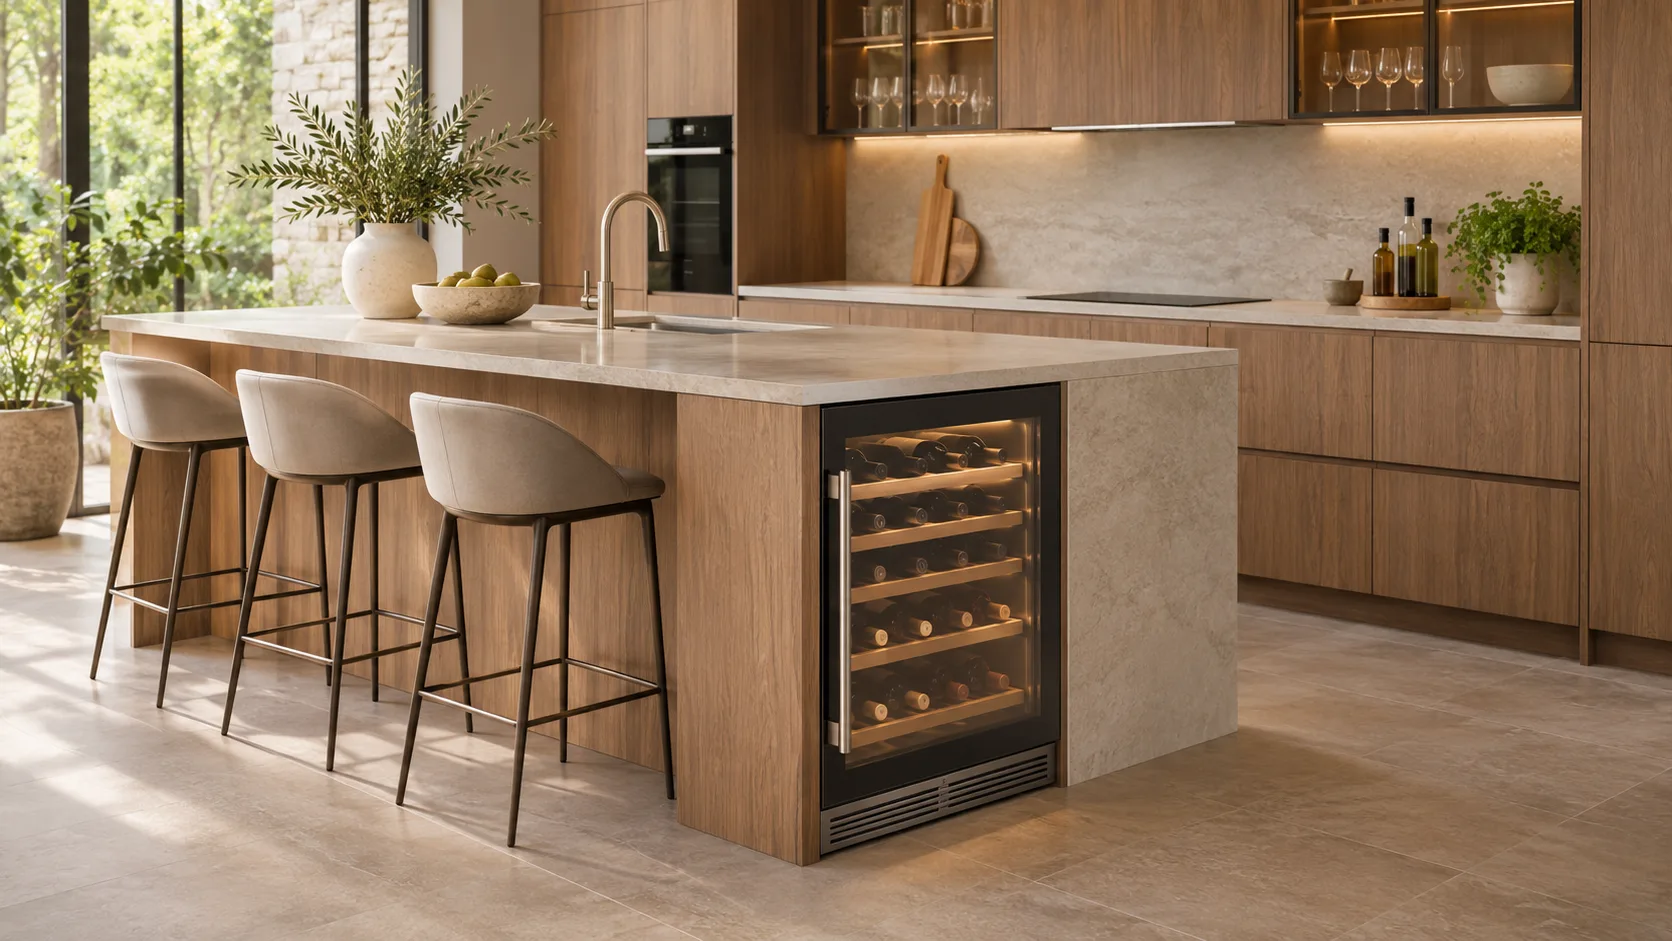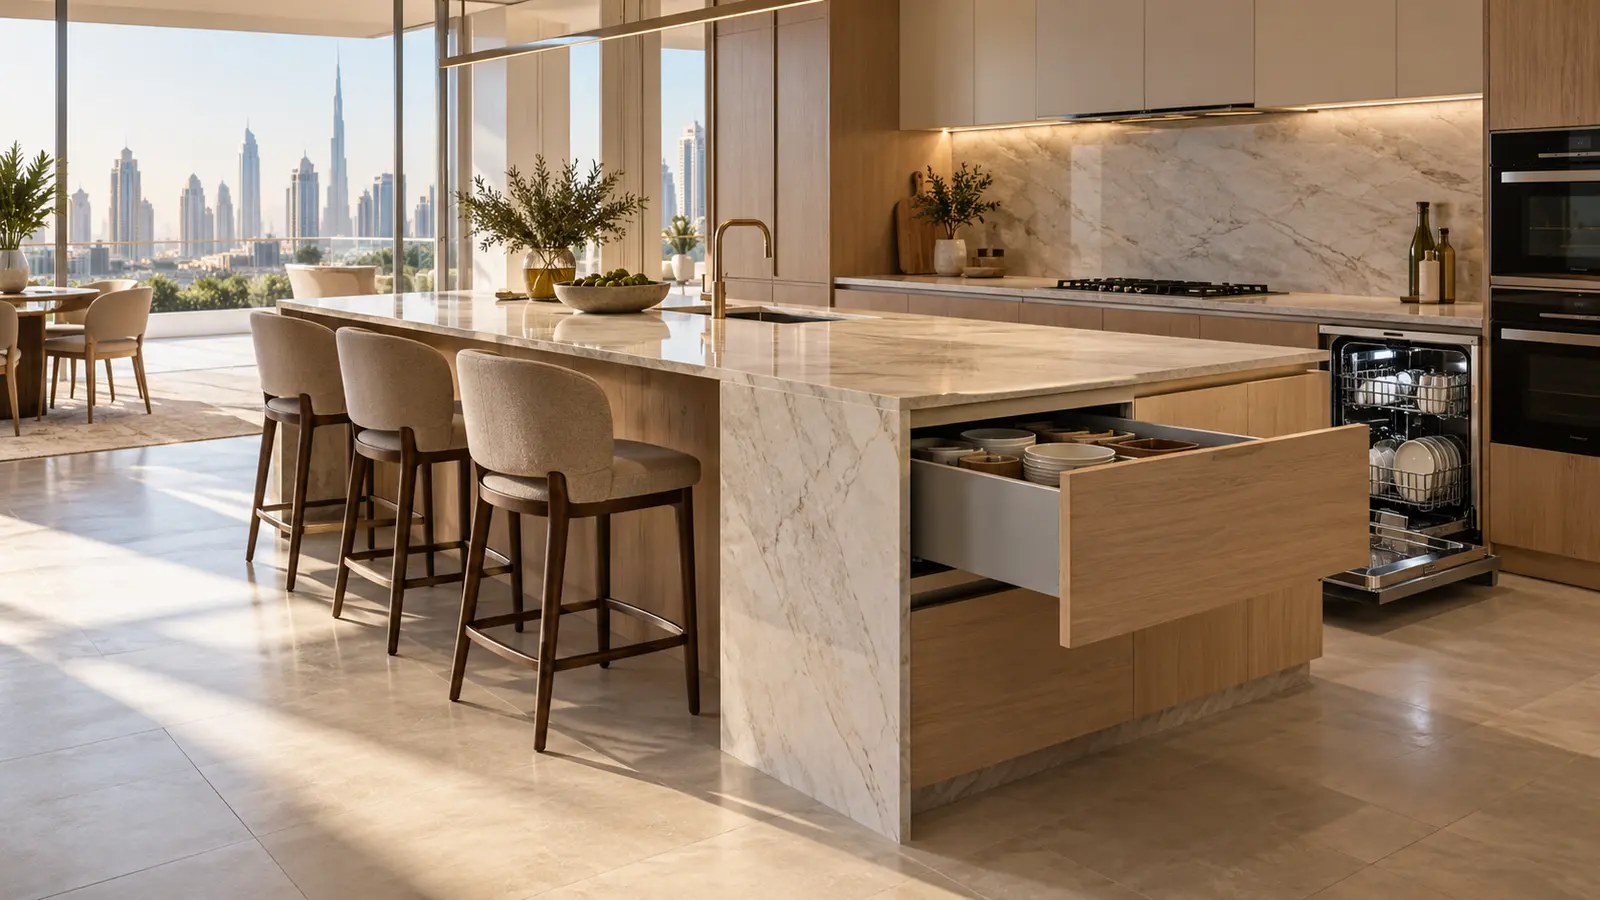
The direct answer
Plan island seating by drawing the kitchen in use, not as a closed-cabinet elevation. Place the actual stools, seated knees and pulled-back positions; open every opposing drawer and appliance; then trace how cooks, seated people and passers-by move at the same time. Decide which activity has priority at each edge. A dishwasher beside a stool, a wide pan drawer opposite the sink or an oven at the island end can turn a generous-looking plan into a daily collision. Final clearances must respond to the chosen products, users and room rather than a single generic number.
- Draw stools occupied and pulled back
- Show every door and drawer open
- Trace cooking and through-routes
- Test simultaneous use before manufacture
Give each side of the island a job
Define preparation, cooking, washing, storage, seating and passage as separate zones before dividing cabinets. Blum's planning material groups kitchens by task zones and emphasises arranging storage around workflow. Apply that principle to the island: frequently used prep tools belong near the preparation surface, waste and cleaning items belong near washing, and serving items should not force someone through the cook's position. Seating works best when it has a clear relationship to the room, not when it occupies whichever edge remains after appliances are placed.
- Preparation edge
- Cooking or washing edge
- Everyday storage
- Serving and seating edge
- Primary circulation edge
Model the stool as a moving object
A stool has at least three positions: tucked in, occupied and pulled back for entry. Record seat width, base or leg spread, backrest depth and whether it rotates. Check the underside for rails, brackets, drawers or stone support that reduce knee room. Continuous seating can look efficient on an elevation while feeling cramped if chair arms or wide bases overlap. Leave a sensible place for feet and bags so they do not migrate into the work aisle. If children or users with different mobility needs will sit there daily, include them in the mock-up rather than treating the seat count as an abstract target.
- Tucked footprint
- Occupied knee and foot zone
- Pulled-back position
- Rotation or swivel arc
- Support and bracket conflicts
Draw appliances from their installation information
Use the exact appliance specification and installation guide, not a generic library block. Fisher and Paykel's installation resources, for example, require product-specific clearances and confirmation that doors can open without obstruction. A dishwasher door changes the floor zone; an oven door changes both reach and heat exposure; a drawer-style appliance may conflict with a perpendicular cabinet. Services, ventilation and fixing requirements also influence where a unit can sit. Product coordination should be completed by the relevant designer, supplier and specialists before cabinetry is released.
- Door and drawer projection
- Handle and control position
- Loading and unloading stance
- Ventilation and service zones
- Adjacent cabinet and stool movement
Planning example
A 2.8-metre island is intended to seat three people and contain a dishwasher, sink cabinet and two wide drawers. The first elevation places all stools opposite the working cabinets. In plan, the dishwasher door opens into the same zone used by the centre stool when it is pulled back, while the 900 mm drawer prevents a second person passing behind the user. The revised layout moves the dishwasher to the island end beside the sink, replaces the nearest stool with two seats centred on the uninterrupted half of the worktop and retains a third seat around the return corner. The frequently used drawers move away from the main through-route. A cardboard mock-up tests stool bases, knees and open-door positions. The final drawing dimensions the seating centres and shows the dishwasher and deepest drawer open.
- Example dimensions explain the method only
- Actual products and users determine the final plan
- Service and worktop support require specialist coordination
Protect the route around the whole island
An island aisle may serve cooking, dining and general passage. Mark the route to the fridge, balcony, dining table and adjacent room, then test it during the busiest moment. Avoid making every journey pass behind occupied stools or across an open appliance. Check nearby cabinet and room doors at the same time. Also model temporary states: a grocery bag on the floor, a dishwasher basket being unloaded and a stool moved aside for cleaning. These ordinary moments often reveal the real pinch point. A slightly shorter island or fewer seats may produce more useful storage and safer movement than a larger object that squeezes every edge.
- Primary cooking route
- General household route
- Fridge and pantry access
- Dining and balcony connection
- Door and chair overlap
Checklist before manufacture
Review the dimensioned plan, elevations, appliance schedule and worktop details as one package. A render cannot demonstrate moving clearances.
- Actual stool model selected or mocked up
- Seat centres dimensioned
- Knee room and supports shown in section
- All drawers and appliances shown open
- Loading stance tested
- Passage route remains usable
- Sockets and services coordinated
- Worktop joints and support resolved
- Household tests the arrangement before sign-off
Limitations and the useful next step
Clearances vary with body size, mobility, stool design, appliance model, cabinet hardware and the number of people using the kitchen. Manufacturer documents govern installation details, while electrical, plumbing, gas, ventilation and structural decisions require qualified specialists. The useful next step is a one-to-one floor mock-up using taped cabinet lines and real or equivalent stools. Add cardboard outlines for the deepest drawer and every appliance door, then repeat the test with two people performing different tasks. Record the accepted seating centres and open positions on the fabrication drawing. Approve the island only when the household can sit, load, cook and pass without one normal activity cancelling another.
- Mock up moving parts at full size
- Use current product documents
- Keep the approved open-position plan with the fabrication package
Sources & further reading
Make this useful for your project.
A review of your property and priorities can turn general guidance into a defined brief.
Explore our servicesDiscuss your project