The direct answer
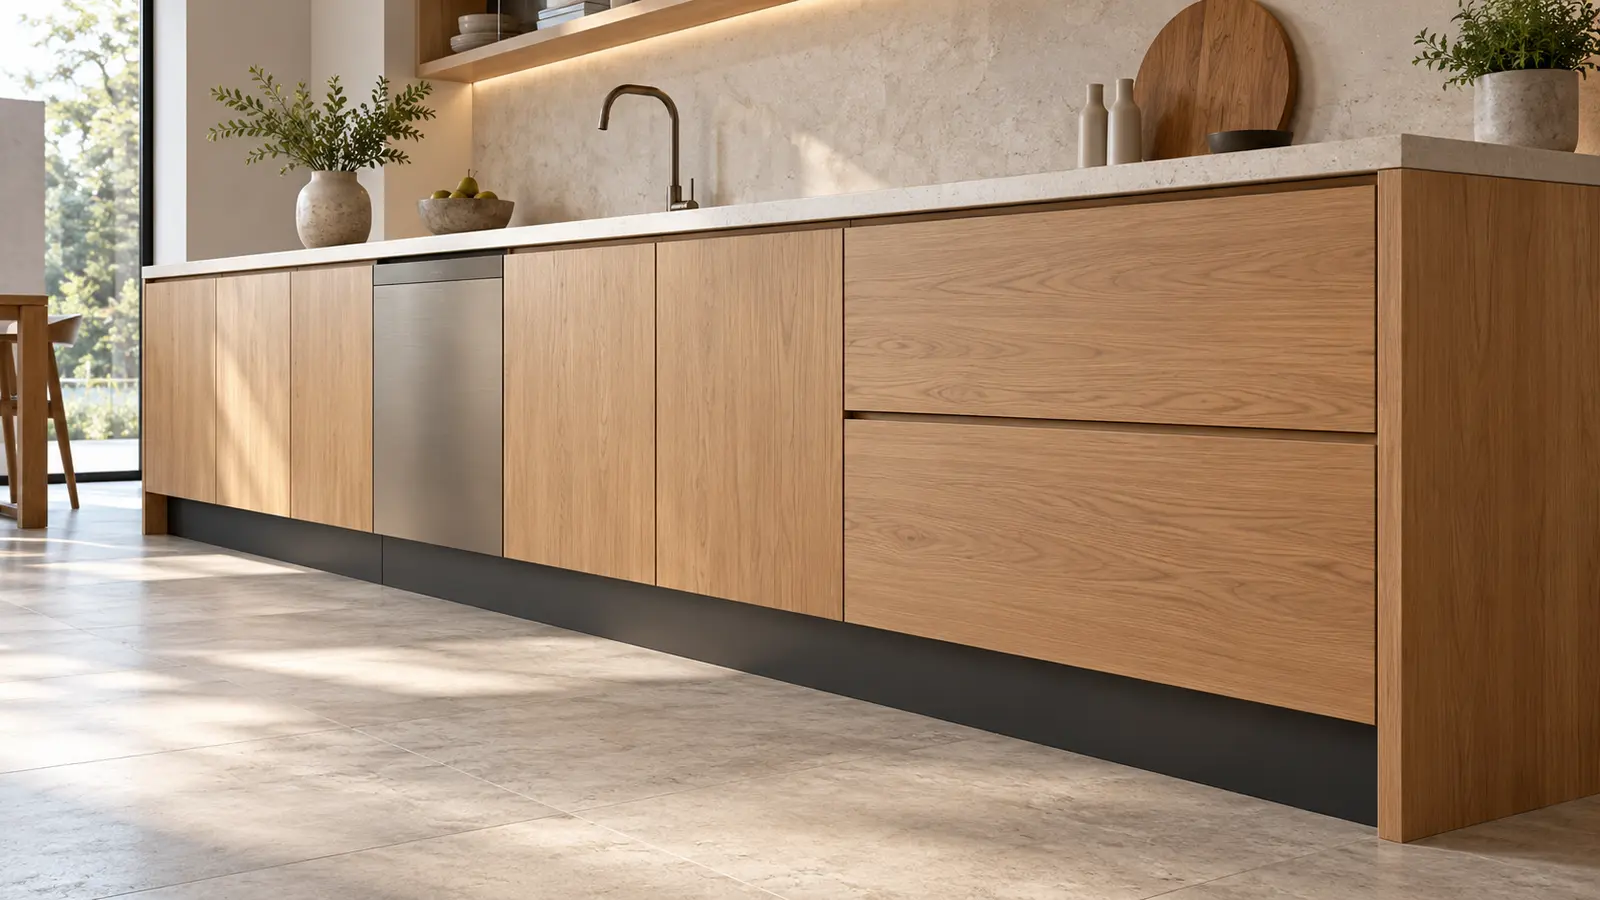
A kitchen plinth brief should settle the geometry and every interface hidden at floor level before the cabinets are made. Record finished-floor level, cabinet and worktop heights, plinth height, toe recess, thickness, material, colour, joint positions and how corners and end panels return. Then coordinate integrated appliance doors, ventilation openings, removable access sections, service routes, support legs and cleaning details against exact model drawings. The plinth is visually quiet, but a late change can alter cabinet heights, expose gaps, restrict an appliance door or leave an untidy ventilation cut-out. Treat it as a line item in the fabrication drawings, not a generic strip added on site. The approved detail should show which sections are fixed, clipped, vented or removable and who confirms each appliance and service requirement.
Fix the vertical stack from the finished floor
Start with a single coordinated datum: the confirmed finished-floor level. From it, build the vertical stack of plinth, cabinet carcass, rail or support, worktop and final work surface. Do not dimension from a rough slab or assume the floor build-up is uniform. A change in flooring thickness can affect the visible plinth, worktop level and appliance opening. Where cabinets cross two floor finishes, resolve the transition and levelling method before fabrication. Record whether end panels stop at the carcass, continue to the floor or wrap the plinth, because that choice changes both appearance and installation sequence. If accessibility or a particular working height matters, decide it as part of the complete kitchen geometry rather than adjusting the plinth after the cabinets are ordered.
Coordinate the toe recess with daily use
The recess allows a person to stand close to the worktop without striking the cabinet base. Its depth and height should feel consistent along the main working run while accommodating cabinet legs, structural rails and doors. Test the detail at sink, preparation and cooking zones, and check any projecting handles or thick fronts. At an island, decide whether the plinth is recessed equally on all sides or whether seating, decorative panels and waterfall ends create different edges. A shadowed plinth can make cabinets appear lighter, while a shallow or reflective finish becomes visually prominent. Material selection should also acknowledge shoes, mops and repeated cleaning. Resolve the junction with skirting, flooring trims and end panels so the installer is not forced to improvise a small but highly visible return.
Let exact appliance drawings govern the interface
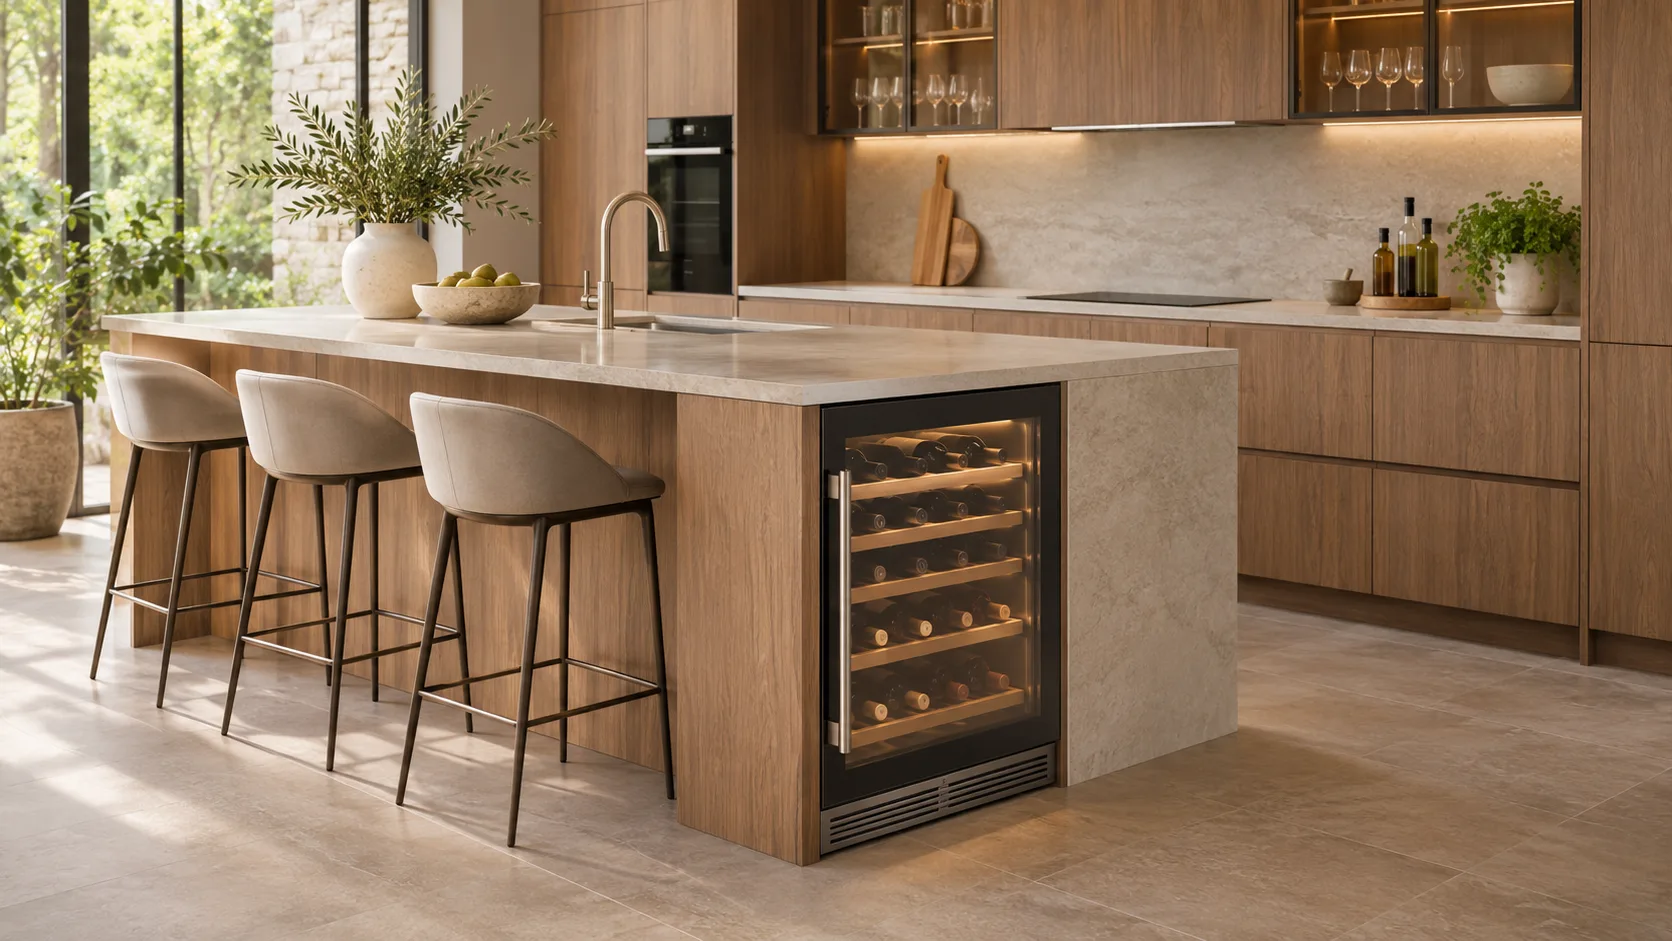
Integrated dishwashers, refrigeration, wine storage and plinth-vented extraction can impose different clearances, ventilation paths and door-swing requirements. Use the exact ordered model and current installation drawing, not a catalogue category. Miele's UAE dishwasher pages, for example, provide model-specific installation drawings and show that allowable plinth ranges can vary. Its plinth ventilation accessories also specify openings for particular systems. These are examples of why dimensions must not be copied from another appliance. Add model references and drawing revisions to the cabinet schedule, then show appliance openings, door panels, recesses and ventilation on the fabrication elevations and sections. Any electrical, water or ventilation work should be designed and installed by the responsible qualified parties; the cabinet detail must preserve, not obstruct, their requirements.
Plan removability, access and cleaning
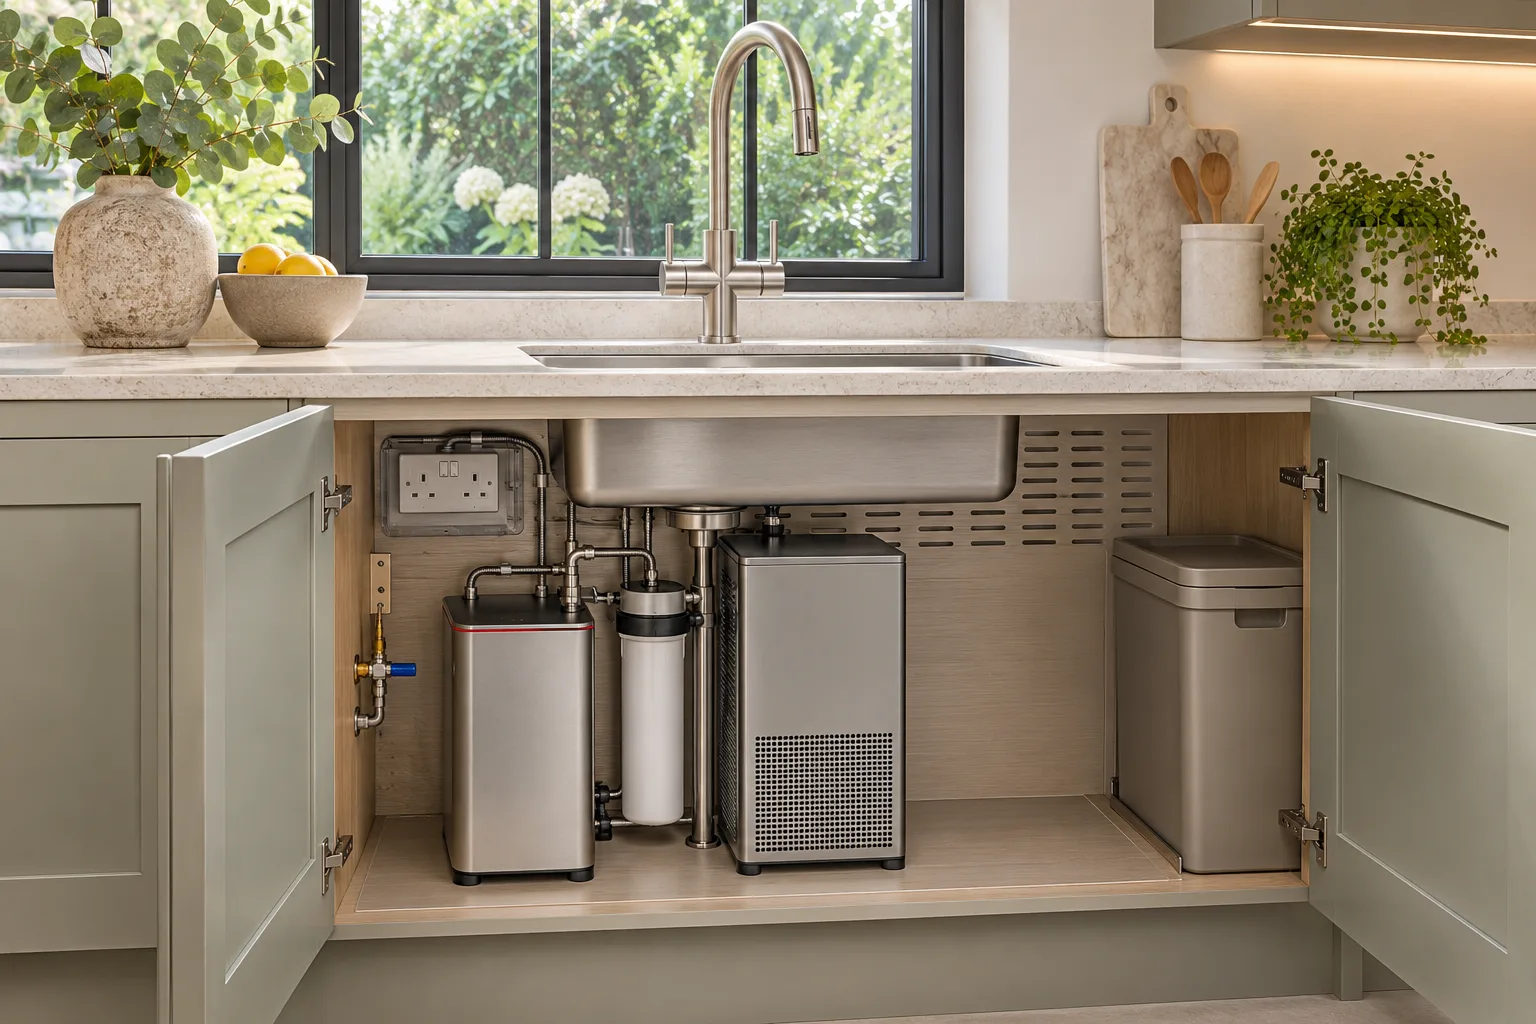
Decide which plinth sections can be removed and how. Clips can allow access, but only if the panel can clear adjacent end panels, appliance doors and floor finishes without damage. Mark access sections for valves, connections or equipment only where the responsible specialist confirms access is appropriate; do not create casual access to hazardous components. Avoid fragile joints at frequently removed sections and keep fixings concealed but understandable to a future technician. At wet or cleaning-prone areas, specify edges and finishes suited to the intended maintenance routine and detail the lower edge so ordinary cleaning does not repeatedly soak an unprotected core. A small labelled diagram in the handover pack can identify removable sections without placing public labels on the finished kitchen.
Planning example
Planning example: a fictional galley kitchen has an integrated dishwasher, a cabinet run opposite and a recirculating downdraft system that returns air through the island plinth. The first elevation shows one continuous dark plinth. During coordination, the exact dishwasher drawing reveals that the furniture front needs a particular lower clearance as it opens, while the extractor accessory requires a defined outlet in the island plinth. The design keeps a continuous visual line but divides the manufacture into a removable dishwasher section, standard clipped cabinet sections and a precisely located ventilation grille at the island. End panels return neatly to the finished floor, and the service-access piece is shown on the handover plan. The example demonstrates that visual consistency comes from resolving different technical conditions, not by forcing every plinth piece to be identical.
A fabrication-approval checklist
Review the plinth in plan, elevation and at least one section through every different condition. Do not approve manufacture from a front elevation alone.
- Confirm finished-floor datum, cabinet height and final worktop height.
- Dimension plinth height, toe recess, thickness, joints and corner returns.
- Identify material, finish, edge treatment and cleaning expectations.
- Check every appliance against its exact current installation drawing.
- Show required ventilation openings without inventing generic sizes.
- Mark fixed, clipped and removable sections plus safe access responsibilities.
- Coordinate end panels, flooring transitions, island sides and seating edges.
Limitations and the useful next step
A cabinet drawing cannot verify an unconfirmed floor level, unknown appliance model or unresolved service design. Adjustable legs can absorb limited site variation, but they should not be used to conceal a missing survey or major level change. A decorative grille is not proof of adequate ventilation, and a removable panel is not a substitute for required equipment clearances. Specialist requirements, manufacturer instructions and any applicable building rules take priority over a preferred visual detail. The useful next step is a plinth review at fabrication-drawing stage with the kitchen designer, cabinet maker and relevant appliance or services specialists. Bring the latest floor information and exact model schedules, mark every different condition, and sign off the section details before production. Link the approved drawings to the installation and handover records so future access does not depend on guesswork.
Sources & further reading
Make this useful for your project.
A review of your property and priorities can turn general guidance into a defined brief.
Explore our servicesDiscuss your project