The direct answer
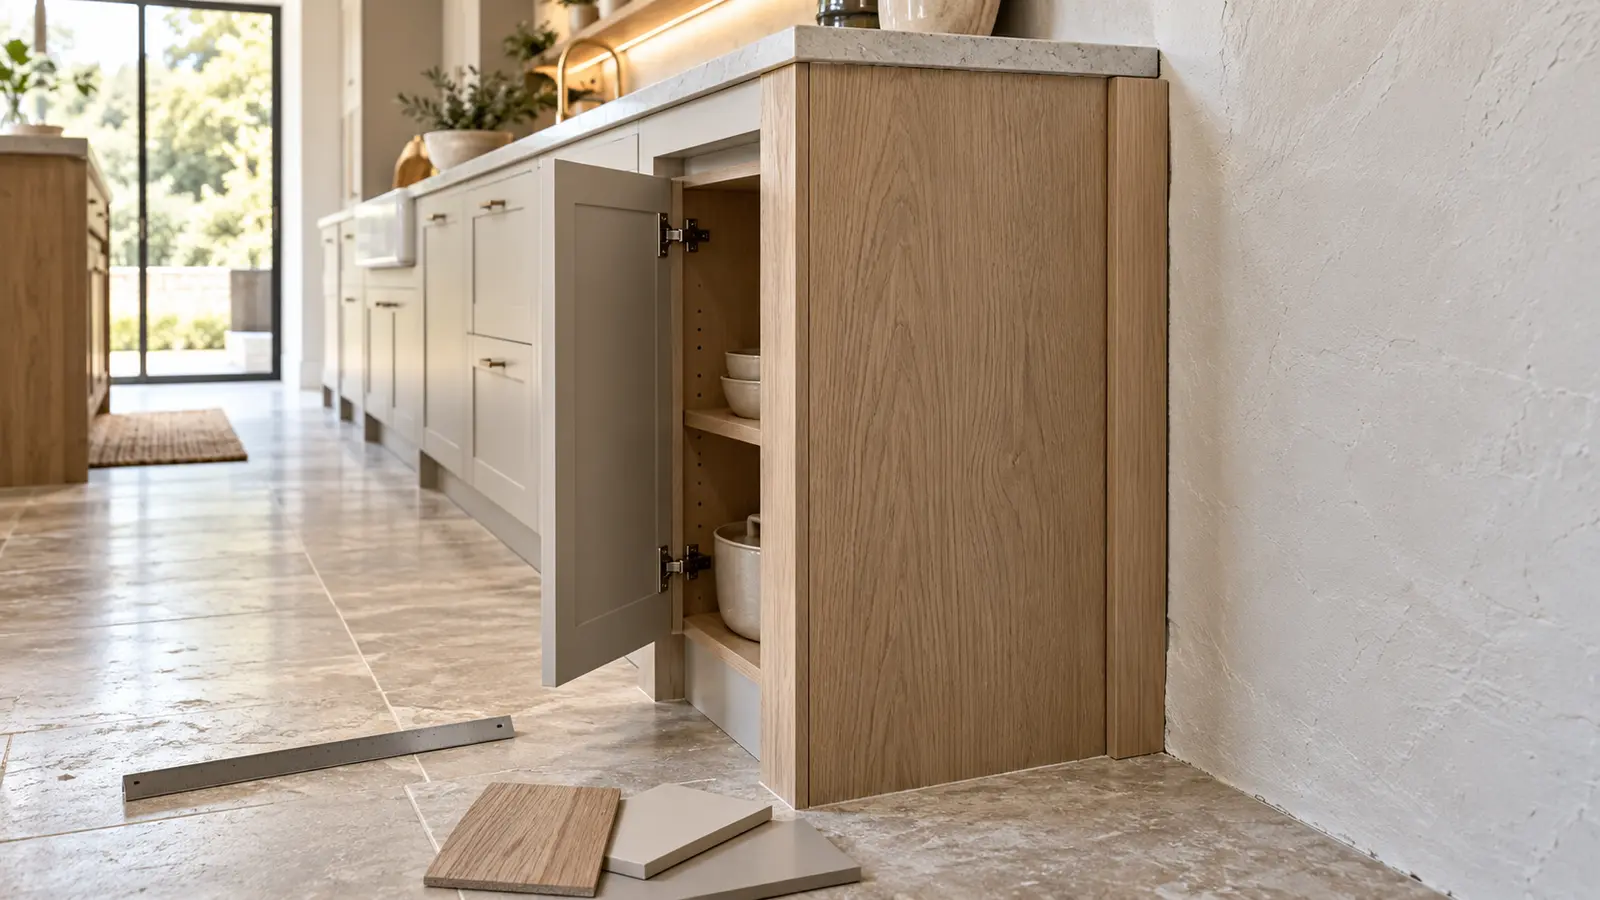
An end-panel, filler and scribe brief should identify every visible cabinet side, every cabinet or appliance next to a wall, the clearance needed for doors and drawers, the expected wall or floor variation, and the finished line at worktops, splashbacks, skirtings and ceilings. It should show which piece is factory-finished, which is oversized for site scribing, how grain or colour runs, and what gap or shadow detail remains visible. Complete this before manufacture because panel thickness and filler width affect cabinet positions, appliance openings, worktop dimensions and symmetry. The installer still verifies site conditions, but should not invent the design with offcuts at the end.
Define the job of each component
Use consistent drawing terms. An end panel finishes an exposed cabinet side and may extend to the floor, worktop or ceiling. A filler closes a planned space or provides operational clearance. A scribe piece is trimmed to follow an uneven wall, column or ceiling. A cover strip may hide a narrow junction but should not replace a properly planned interface. Number these pieces on elevations and plans. Record material, thickness, finish, grain direction, edge treatment and whether the component is removable. If one panel performs several jobs, show its full section and fixing concept. State which dimensions are fixed design values and which remain site-adjustable. This prevents a manufacturer from reducing a functional clearance to preserve a nominal cabinet width.
Protect door, drawer and appliance movement
Official IKEA kitchen guidance explains that fillers create clearance so cabinets beside walls can open properly, and that larger handles or refrigerator doors may require more space. Treat its published dimensions as system-specific examples, not universal values. For the selected kitchen, draw every wall-end door, drawer, pull-out and appliance at its required opening angle or travel. Check handles against walls, architraves, window sills and radiators. Internal drawers may need the outer door to open farther than expected. A visually narrow filler is not successful if it prevents full access or damages the wall.
Survey the real boundary
Measure walls at several heights and depths, and record whether they are plumb, straight and square. Confirm finished-floor, skirting, splashback and ceiling build-ups rather than relying on unfinished shell dimensions. IKEA's installation guide notes that a filler beside an uneven wall may need to be cut to the wall's shape. That is the principle of scribing, but the actual procedure belongs with the competent installer and the selected system. The design should state the maximum expected scribe allowance, the intended visible face width and the hold point for final site verification before cutting or manufacture.
Coordinate appearance across the whole elevation
Fillers solve technical problems but also affect visual rhythm. Compare the left and right ends of a cabinet run, tall-unit alignment, door widths and worktop overhangs. A narrow irregular strip beside one wall may make the run appear accidental; a controlled wider panel or shadow line may look more intentional. Decide whether end panels sit flush with doors, cabinet carcases or worktops. Continue grain and book-matching only where the manufacturer can control the sequence. Confirm how end panels meet plinths, cornices, lighting channels and splashbacks so several small finishing pieces do not compete. Review end conditions in the room's main sightlines, including the entrance and dining area, rather than only in a straight elevation. If an exposed panel carries sockets or switches, coordinate their positions, edge distances and service access with qualified specialists before fabrication.
Planning example
Planning example: a fictional kitchen has a tall refrigerator housing at one end and base drawers against a slightly bowed wall at the other. The first elevation shows equal door widths with no fillers. Opening studies reveal that the refrigerator door needs more wall clearance and the last drawer handle would strike the return. A site survey also finds an 11-millimetre variation along the base-cabinet wall. The revised brief introduces a planned refrigerator-side clearance panel, a controlled wall-end filler for the drawer run and an oversized scribe piece that preserves the approved visible face after trimming. The worktop, splashback and plinth drawings are updated to the same cabinet positions before manufacture.
Use a pre-manufacture checklist
Review the details on plans, elevations and sections against the final site survey.
- Number all end panels, fillers, scribes, cover strips and shadow details.
- Record material, finish, thickness, grain direction and exposed-edge treatment.
- Draw wall-end doors, drawers, handles and appliance doors in operation.
- Confirm wall, floor, ceiling, skirting and splashback build-ups.
- State factory sizes, site-scribe allowances and final verification hold points.
- Coordinate cabinet positions with worktops, services, appliances and lighting.
- Approve left and right elevation balance before releasing manufacture.
Recognise the limitations
Published filler dimensions from one cabinet system do not apply automatically to another. Hardware, handles, hinges, appliance geometry, wall conditions and installation methods differ. A design survey can miss movement or unfinished build-ups, so final verification remains essential. Cutting, fixing, wall drilling and appliance installation are skilled site tasks and may encounter concealed services; this article does not provide installation instructions. Manufacturer data, appliance manuals and competent trade review control the actual detail. If the room changes after approval, recheck every end condition before production continues.
The next step
Ask the kitchen designer to issue a dedicated end-condition sheet with enlarged plans and sections for every wall end, appliance side and visible cabinet face. Compare it with the final survey and exact hardware and appliance data. Resolve each opening conflict, scribe allowance and finish junction, then record the approved drawing revision in the manufacture release. This small review prevents improvised site strips from undermining an otherwise precise kitchen and keeps the final installation aligned with the approved elevations.
Sources & further reading
Make this useful for your project.
A review of your property and priorities can turn general guidance into a defined brief.
Explore our servicesDiscuss your project