Direct answer: freeze the visible edge and the hidden support together
A useful countertop edge and overhang brief records the exact slab product and thickness, exposed and concealed edge profiles, visible built-up depth, corner treatment, overhang dimensions, support strategy, seating relationship, cut-outs, joints, splashback interfaces and fabrication responsibilities. It should be agreed before templating because the fabricator is measuring a coordinated installation, not designing unresolved geometry on site. The cabinet line, finished panels, appliances, sink and support frame must already provide reliable datums. Product-specific technical documentation remains authoritative: different materials and thicknesses have different edge and overhang limits. Installation and fabrication belong with appointed professionals, while the homeowner should insist that aesthetic choices and technical assumptions appear on the same signed drawing.
Separate real slab thickness from apparent thickness
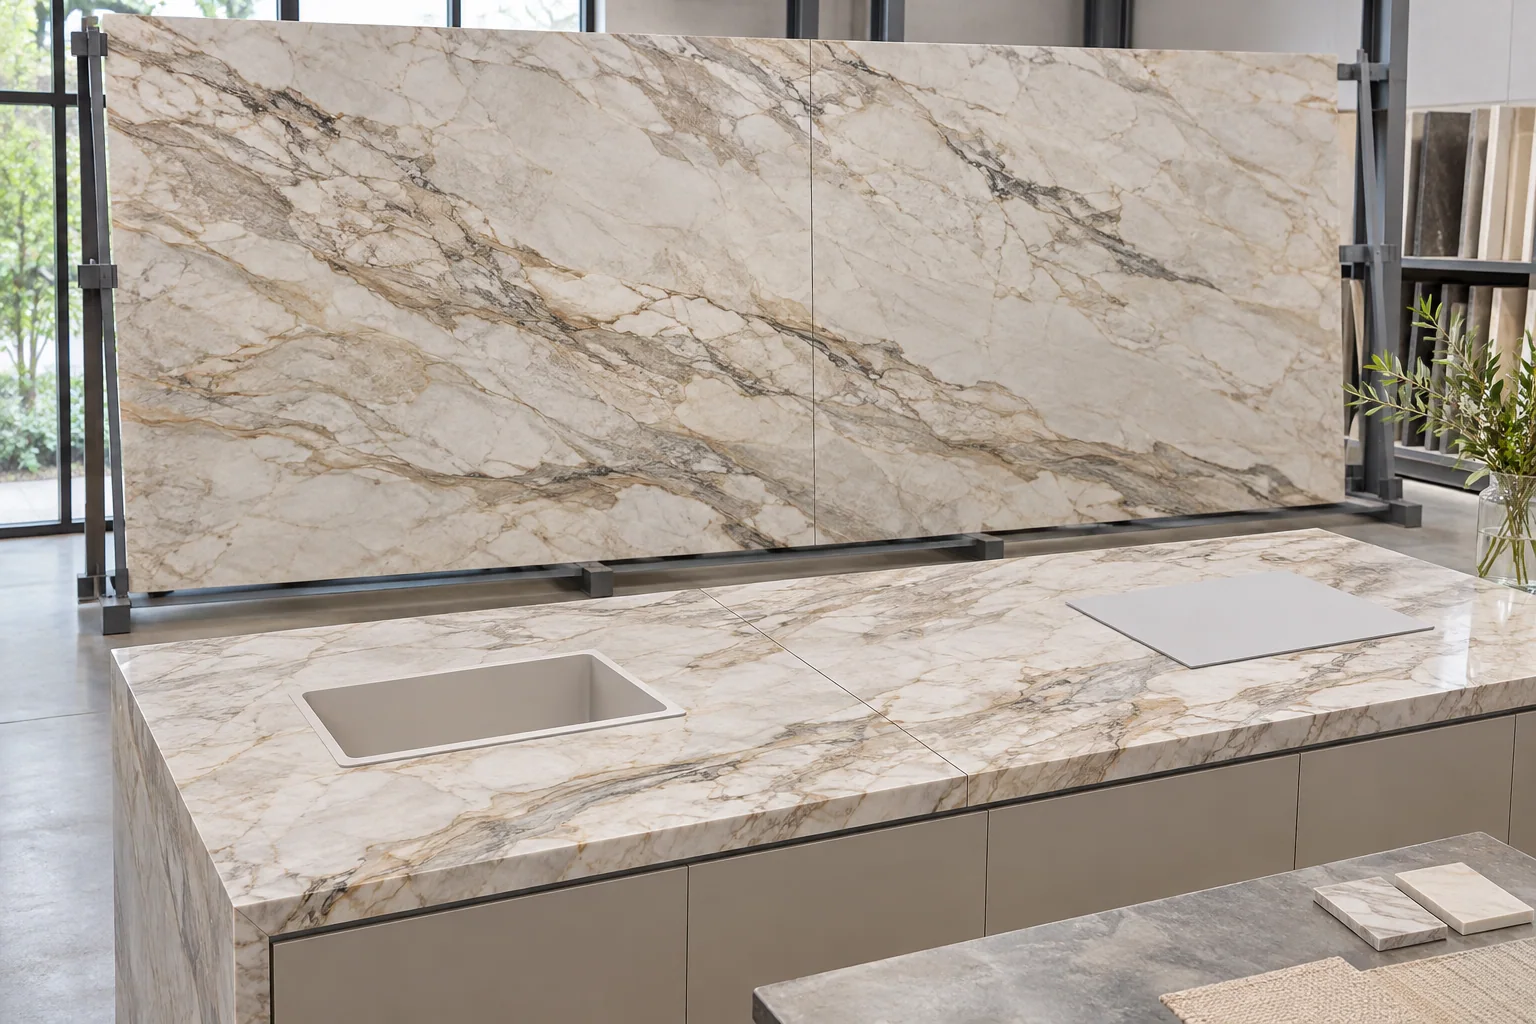
A slim edge can make a kitchen feel precise and light, while a built-up or mitred edge can give an island more visual weight. The visible dimension may not equal the structural slab thickness. A mitred apron is a fabricated return that creates a deeper appearance; its internal support, joints, vein continuity and corner quality must be shown. Do not ask for a generic thick edge without defining where the return ends at cabinets, seating and waterfall panels. Compare full-size samples from normal standing and seated viewpoints. The edge should suit the cabinet proportions and handle lines rather than compete with them. Record the actual slab thickness, finished visible depth and fabrication method as three separate pieces of information.
Choose the edge profile from use as well as appearance
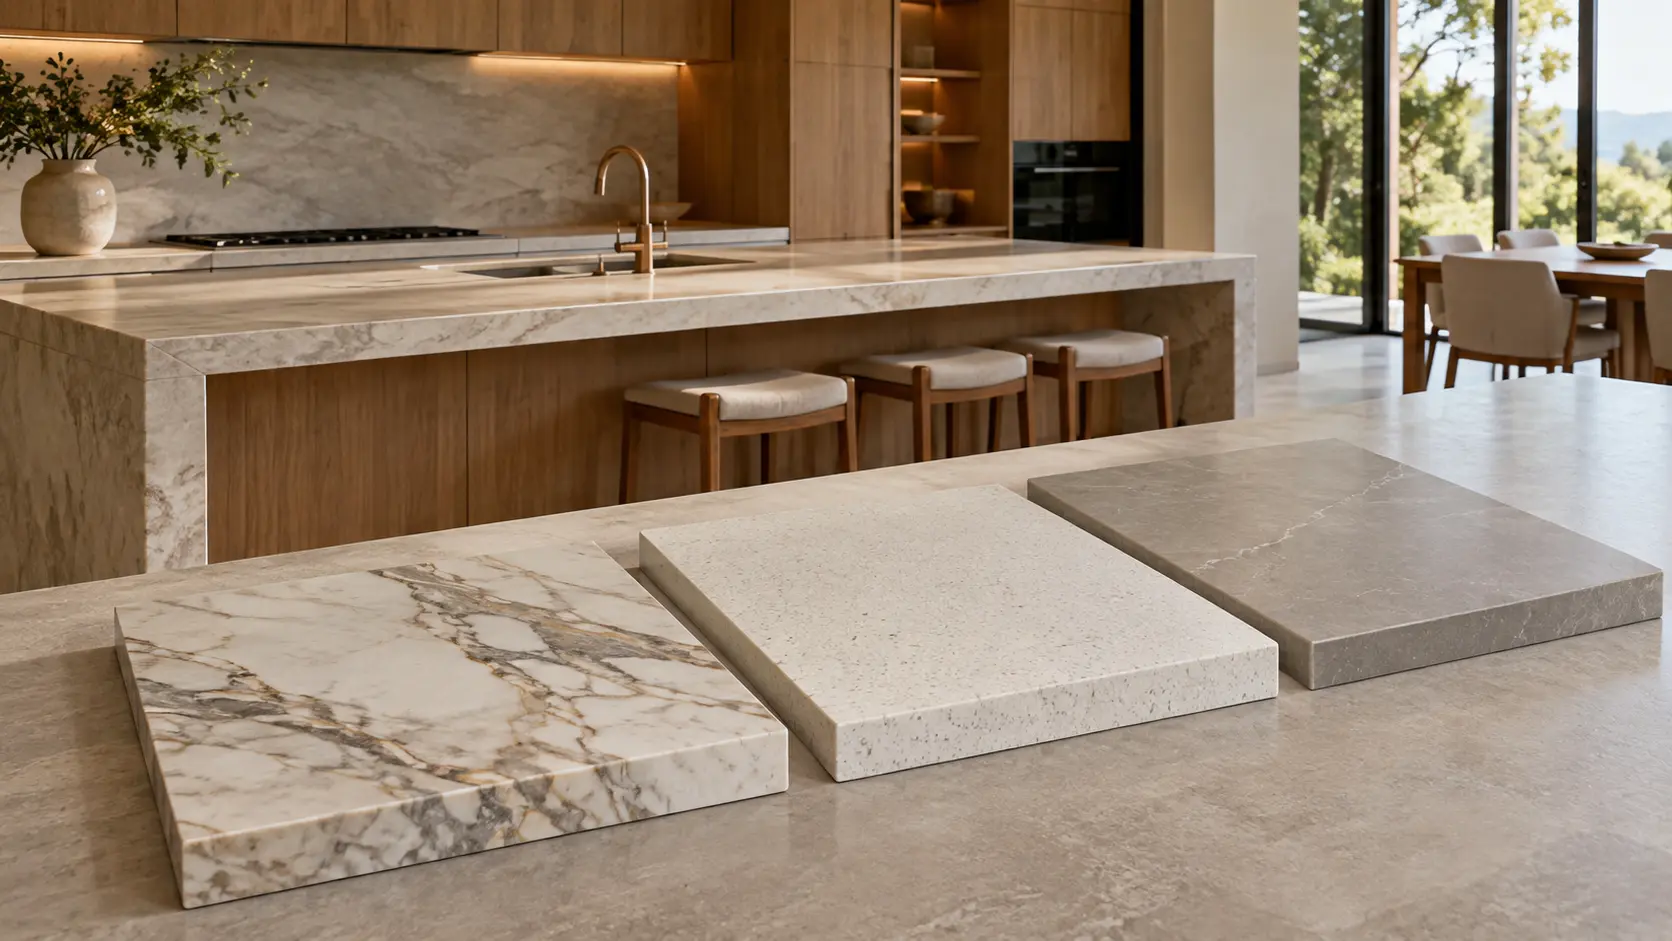
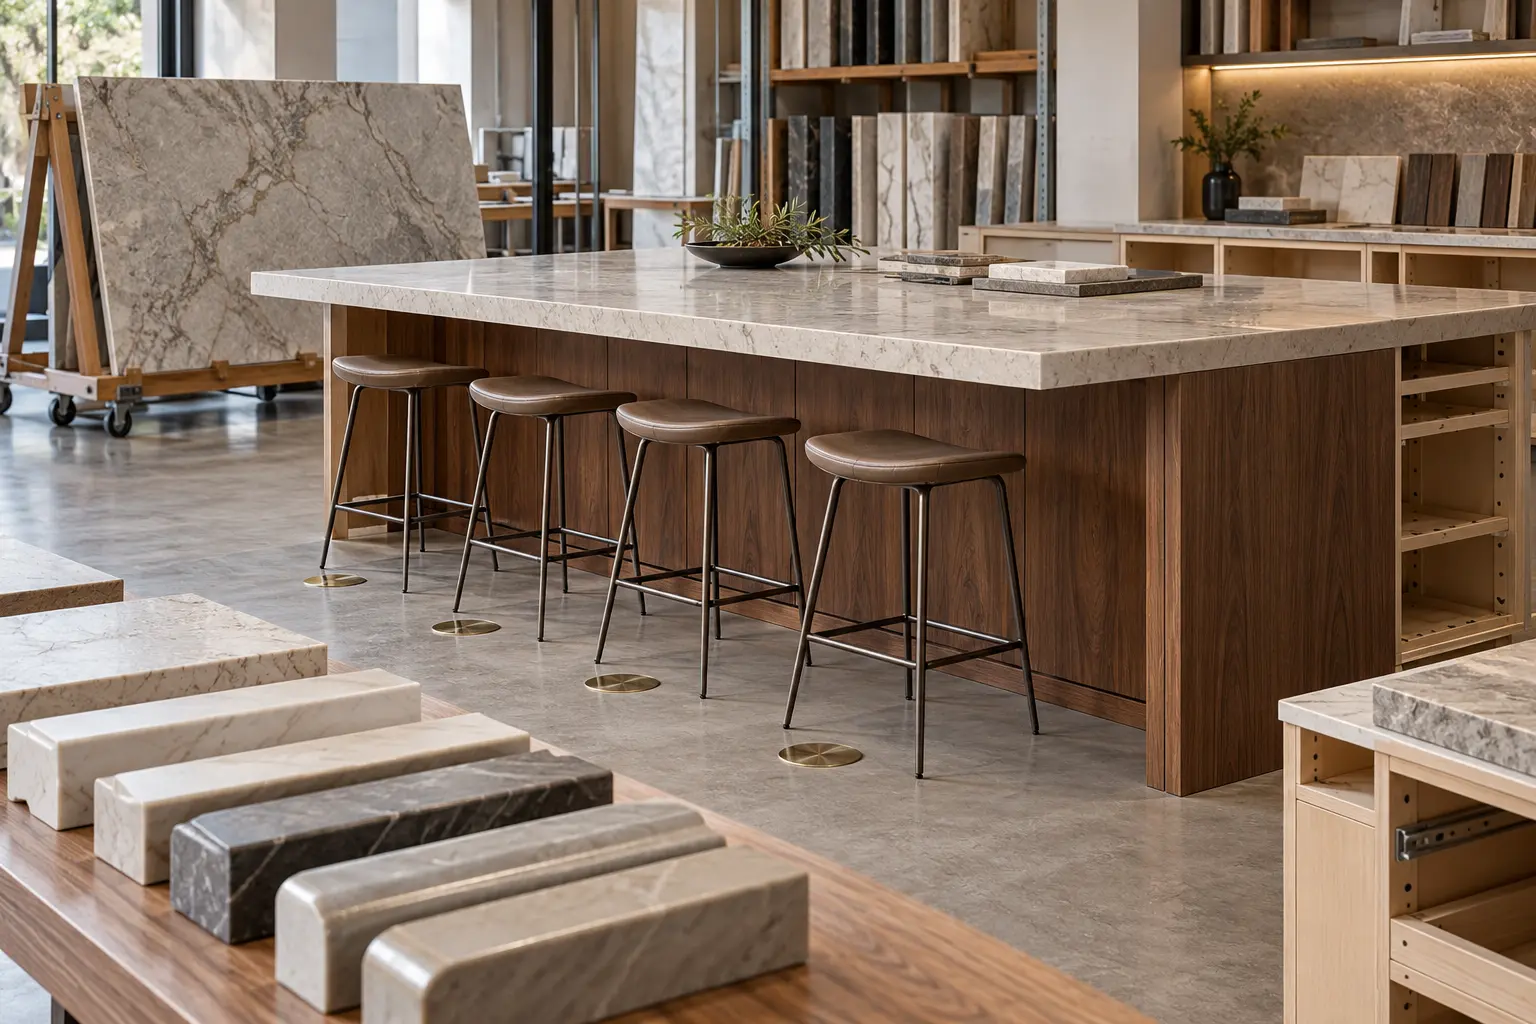
Straight, eased, bevelled, rounded, half-round and more sculpted profiles behave differently at touch points and corners. A very sharp visual line can be less forgiving where people lean or children circulate; a larger radius changes the way light catches the edge and may soften the composition. The approved profile must be compatible with the material and thickness. Cosentino's Dekton design and installation manual publishes material-specific recommendations for exposed and non-exposed edges, demonstrating why a showroom name alone is not a fabrication instruction. Ask the fabricator for a physical edge sample in the selected material or a closely comparable approved sample, then record top and bottom easing, polish and corner transitions.
- Profile name plus dimensioned section
- Top and bottom edge treatment
- Inside and outside corner transition
- Polish or texture match
- Approved physical sample reference
Dimension the overhang from the finished cabinet
Overhangs should be measured from the final support line or finished panel, not from an unfinished cabinet carcass. Show front, side and seating overhangs separately because each serves a different purpose. A small front projection protects door faces and gives comfortable grip clearance; a seating overhang creates knee space; an exposed side may align with a waterfall panel or decorative end. Confirm every finished panel, filler and applied door thickness before the fabricator templates. Cosentino's guidance gives different overhang recommendations according to material thickness, direction, support and nearby cut-outs. Treat those values as product-specific inputs for the appointed fabricator, not a universal design rule copied to another stone or quartz product.
Coordinate seating, knees and stool movement
An island overhang is useful only if people can sit without their knees colliding with structure, doors or hidden brackets. Place the actual stool width, seat height and footrest on the plan, then show the pulled-back position and circulation behind it. Decide whether the island is for quick meals, laptop work or longer dining, because the needed comfort and spacing may differ. Structural support should not appear exactly where knees or stool legs need to go. A concealed frame can preserve a clean line but still requires coordination with cabinet interiors, services and fixings. The relevant designer and fabricator should approve it. Do not increase overhang simply to create another seat if the aisle or slab layout becomes compromised.
- Stool model and actual width
- Seated knee and footrest relationship
- Pulled-back stool footprint
- Circulation behind occupied seats
- Support positions clear of users and cabinet functions
Keep cut-outs, joints and supports in one drawing
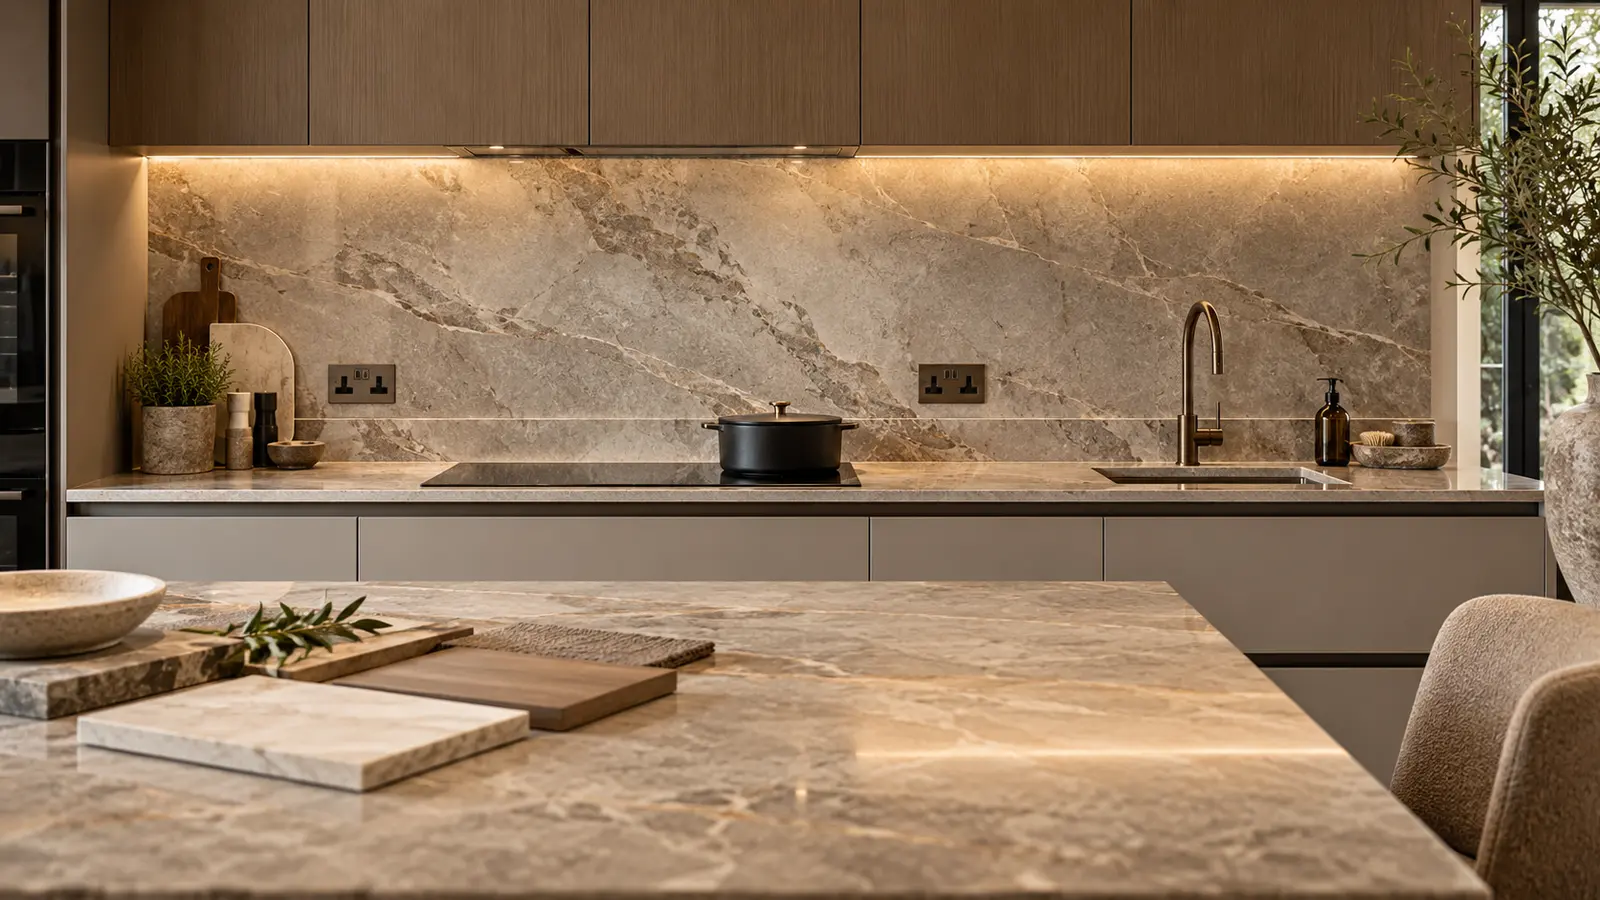
A sink, hob, pop-up socket or tap hole changes the remaining material around an overhang and may restrict where joints or supports can sit. Show every approved appliance and fixture cut-out with manufacturer data before the final slab layout is agreed. Cosentino's Silestone and Dekton manuals include product-specific guidance for cut-out radii, distances, joints and support; the selected fabricator must apply the current document for the exact product. Review vein direction and book-matching where relevant, especially across a mitred return or waterfall end. Avoid placing a visually prominent joint or abrupt pattern change at the primary seating edge when the slab size allows a better arrangement. Technical acceptability and visual composition should be reviewed together.
- Exact sink, hob, tap and socket references
- Cut-out size, corner and mounting method
- Joint positions and vein direction
- Support zones and cabinet obstructions
- Fabricator confirmation against current product guidance
Planning example
Planning example: a fictional 2.8-metre island is planned with four stools and a pale sintered-stone surface. The concept shows a deep mitred edge and a generous long-side overhang. When the actual stools, sink cut-out and cabinet drawers are added, two proposed support positions conflict with knees and one lands inside a drawer zone. The team reduces the apparent edge depth, adjusts the seating spacing and develops a concealed support frame with the appointed fabricator and designer. The slab layout moves the sink cut-out farther from the critical edge and aligns the vein across the waterfall end. A full-size edge sample and island section are signed before templating. The example tests decisions; it is not completed client work.
- Final structural and fabrication decisions remain product- and project-specific.
- The approved section is issued with the cabinet and appliance drawings.
Checklist before templating
Walk the installed cabinets with the signed countertop pack. Templating should confirm a resolved design, not become the meeting where edge, overhang and support are first discussed.
- Exact slab brand, colour, finish, batch and thickness
- Dimensioned exposed, wall and appliance-edge profiles
- Visible built-up depth and mitred-return extents
- Finished front, side and seating overhangs
- Approved support frame or bracket design
- Stool, knee-space and circulation test
- Sink, hob, tap, socket and other cut-out data
- Joint, vein, waterfall and splashback layout
- Cabinets level, fixed and complete with final panels
- Physical edge sample and final fabrication drawing approved
Limitations and the next useful step
This framework cannot supply universal overhang limits, engineer a support frame, approve a cut-out or replace the selected material manufacturer's current documentation. Natural stone, engineered quartz, sintered stone and porcelain have different properties, while fabrication methods and slab patterns vary. The next useful step is to issue a single countertop plan and section showing the chosen edge, every overhang, seating, cut-outs, joints, supports and finished cabinet faces. Review it with the kitchen designer, cabinet maker, fabricator and relevant structural professional where needed. Build or obtain one full-size edge sample and mark the island footprint with stools. Only then should the cabinets be released for final completion and the worktop templated.
- Design concept: the cover shows a neutral material and island mock-up scene, not completed client work.
- Recheck the brief if the slab product, thickness, appliance or cabinet finish changes.
Sources & further reading
Make this useful for your project.
A review of your property and priorities can turn general guidance into a defined brief.
Explore our servicesDiscuss your project