Direct answer
Before manufacture, decide how each door, drawer, pull-out, wall cabinet and integrated appliance will open; where fingers make contact; what gap or rail is visible; how fronts align; whether soft close is required; how accidental opening is controlled; what power and access an electrical system needs; and how the choice affects cleaning, accessibility and appliance compatibility. Blum’s current product information distinguishes mechanical TIP-ON, mechanical TIP-ON BLUMOTION and electrical SERVO-DRIVE, while grip rails and routed pulls require no push mechanism. “Handleless” is therefore an appearance goal, not a complete hardware specification. Schedule the opening method cabinet by cabinet.
Compare four opening families
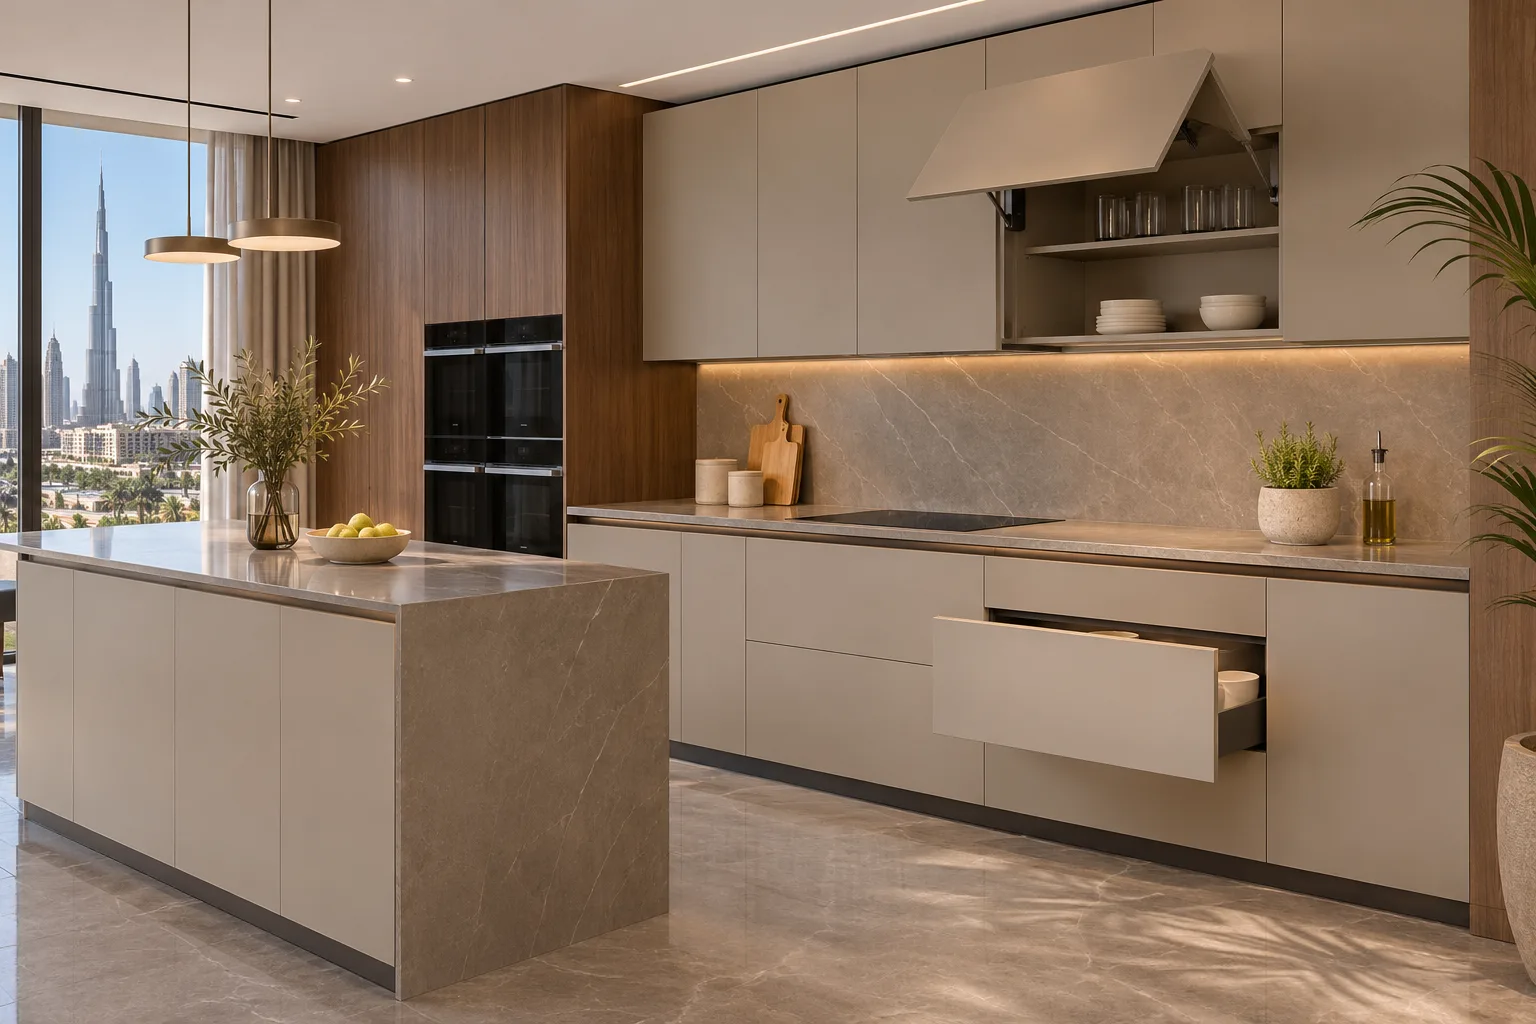
A recessed grip rail creates a continuous finger space behind or above the front. A routed or applied pull is integrated into each door. Mechanical push-to-open releases the front after pressure. Powered opening uses a drive unit and supply. Each changes the cabinet proportions and user experience. Grip rails consume internal or front height and can interrupt end panels. Routed pulls depend on front material and edge durability. Push systems require reliable adjustment and intentional pressing. Powered systems need compatible hardware, power, access and a manual-use strategy. Use one comparison sheet showing appearance, operation, cleaning, storage impact, service needs and cost drivers before approving a mixed kitchen.
Match the system to the cabinet action
Wall cabinets, wide drawers, tall doors, waste pull-outs and narrow spice units do not behave alike. Blum describes TIP-ON as mechanical touch opening for handleless doors and AVENTOS fronts. Its 2024/2025 catalogue distinguishes touch opening with soft close from touch opening that is pressed shut. SERVO-DRIVE supports electrical opening for pull-outs and selected lift or appliance applications. Verify the exact current components, front weight, cabinet dimensions and compatible runner or hinge system. Do not copy one mechanism across the schedule because it worked on a showroom drawer. A full-height refrigerator front and a shallow wall cabinet may require completely different solutions.
Resolve appliances before the front grid
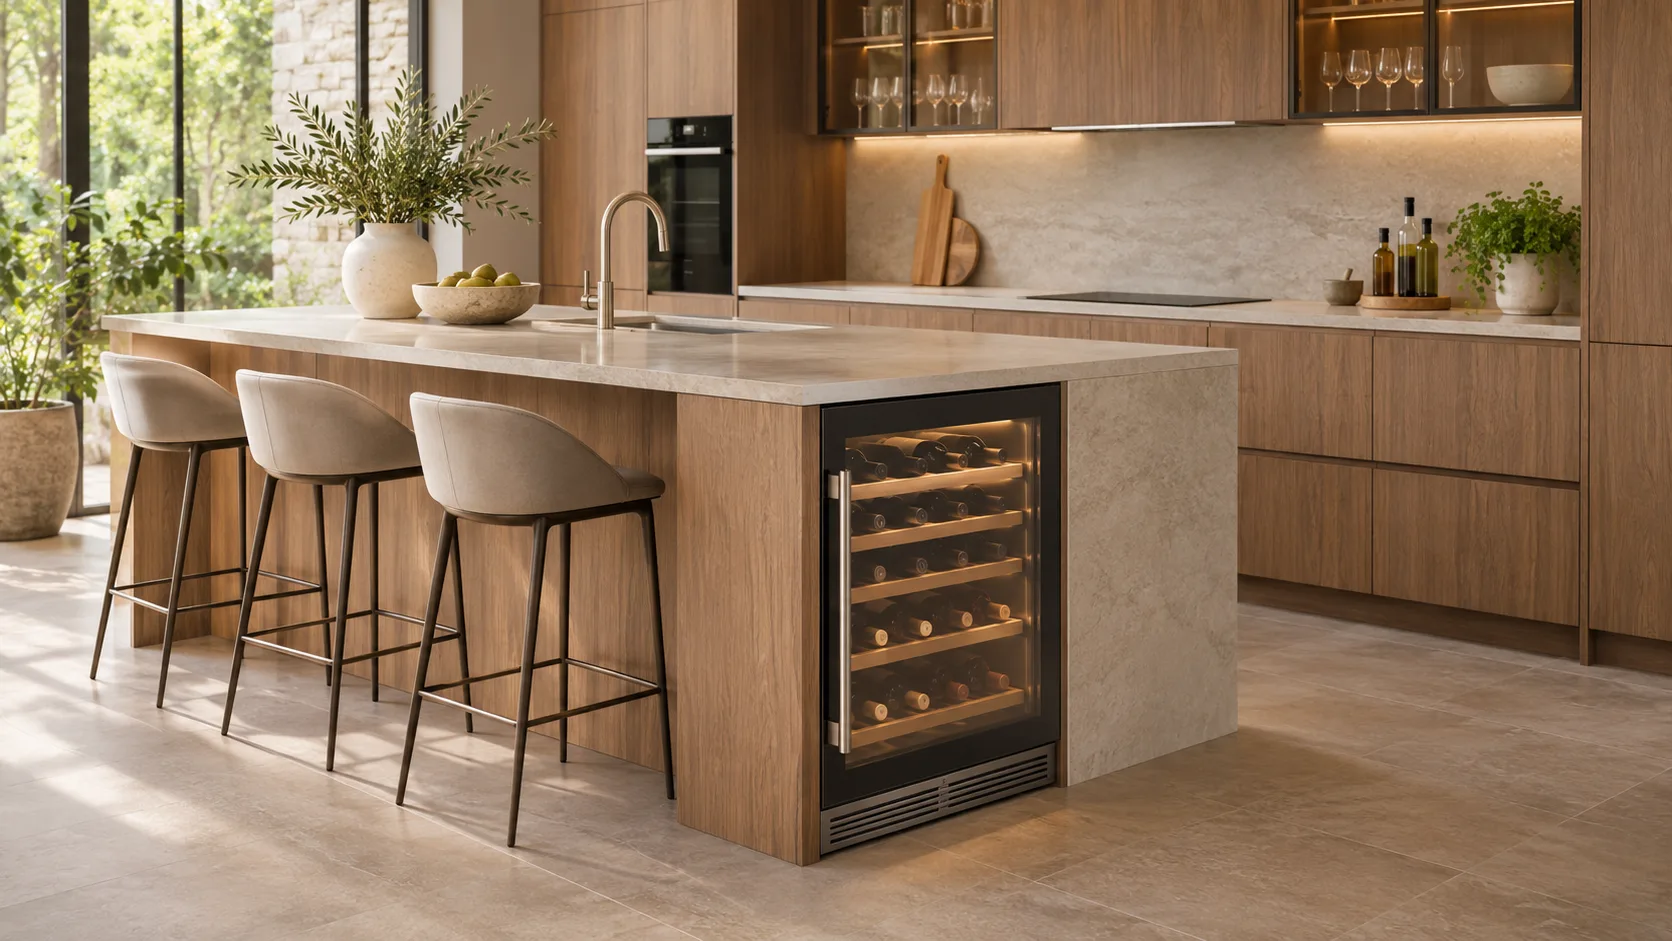
Integrated dishwashers, refrigerators, freezers, wine coolers and compact appliances can have brand-specific hinges, ventilation, door weights and opening accessories. Some use finger access; some support a compatible powered or knock-to-open system; others need a conventional pull. Confirm the exact appliance model and installation document before finalising front sizes, gaps and plinths. If appliance selection is not final, show the decision as an unresolved hold point rather than inventing compatibility. Coordinate side clearances, door travel and adjacent handles so an open appliance does not damage a front. The cabinetmaker and appliance supplier should review one shared elevation.
Test touch, cleaning and accidental activation
Touch-open fronts move finger contact onto the face, so review fingerprints on the actual finish. A rail may be less visible but can catch crumbs or feel tight to some hands. Powered systems may include sensitivity or lean-protection features, but the exact product still needs correct setup. Blum notes adjustable trigger sensitivity for SERVO-DRIVE pull-outs. Test the sample with wet hands, an elbow, long nails and reduced grip strength where relevant. Check whether leaning against an island, a child touching a low drawer or cleaning the front can cause unwanted opening. The goal is not a laboratory result; it is a documented household preference tied to the selected hardware.
Planning example
Planning example: a kitchen concept uses identical slab fronts throughout. The first schedule simply says “push-to-open.” During review, the household prefers a recessed rail for daily cutlery drawers, mechanical touch opening for occasional wall cabinets and a conventional integrated pull for one appliance that does not support the proposed system. The waste drawer receives a powered option because hands are often occupied, with service access and manual operation confirmed. Front gaps and end panels are redrawn around the mixed approach. This fictional scenario demonstrates specification; it is not a product endorsement or completed kitchen.
Detail gaps, rails and service access
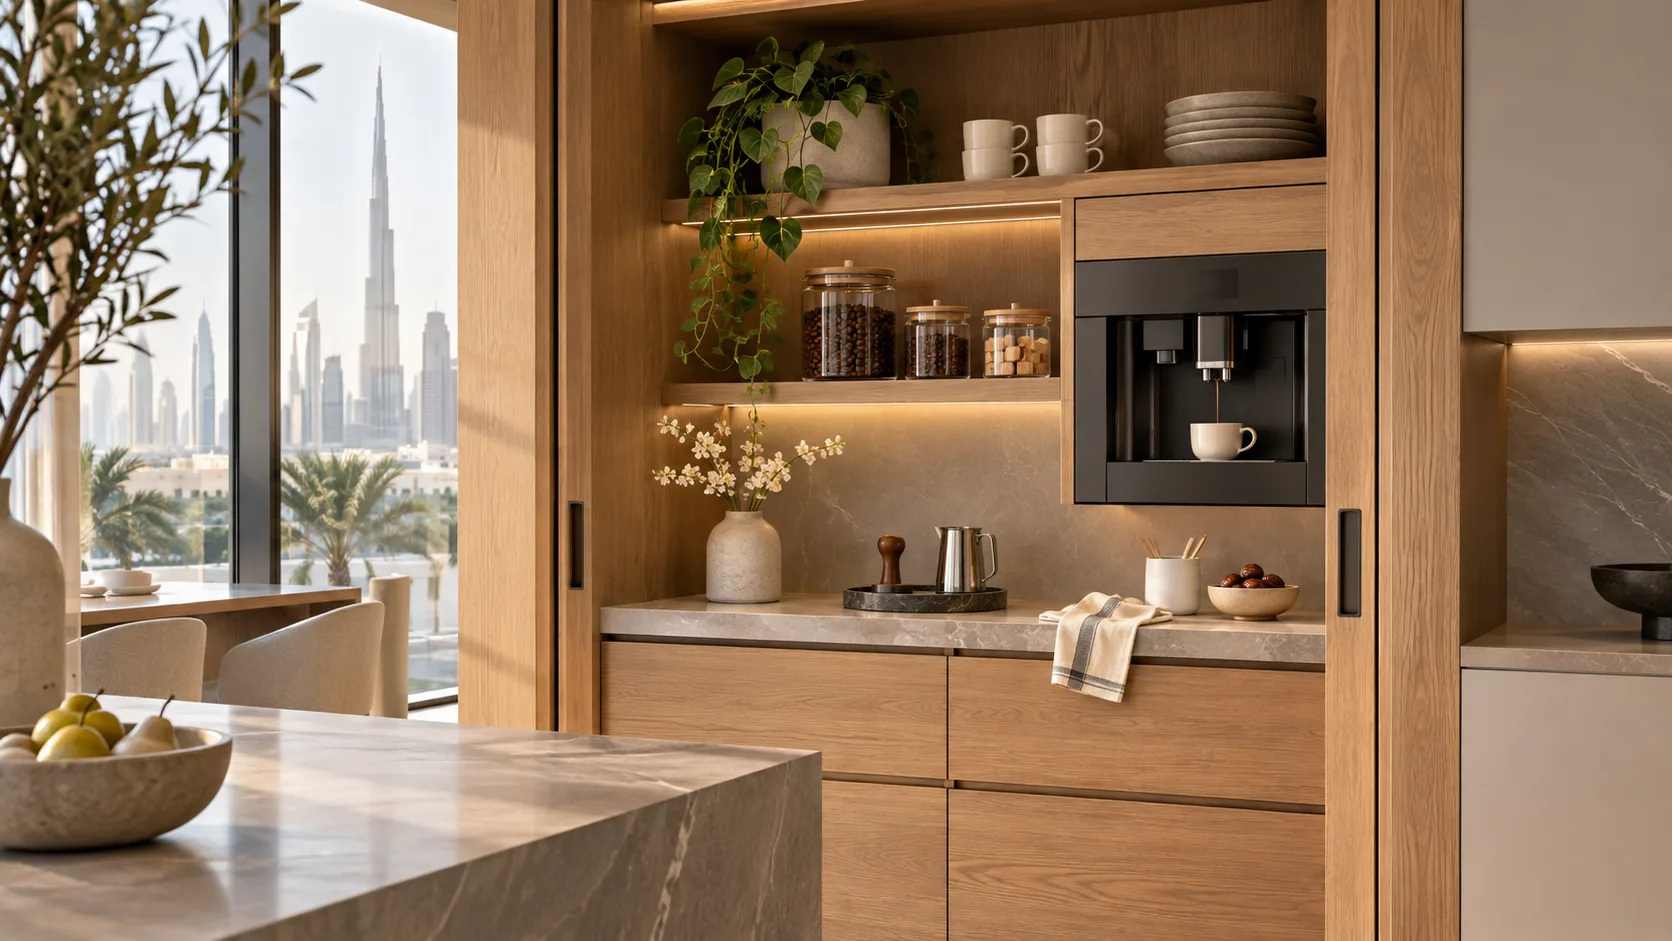
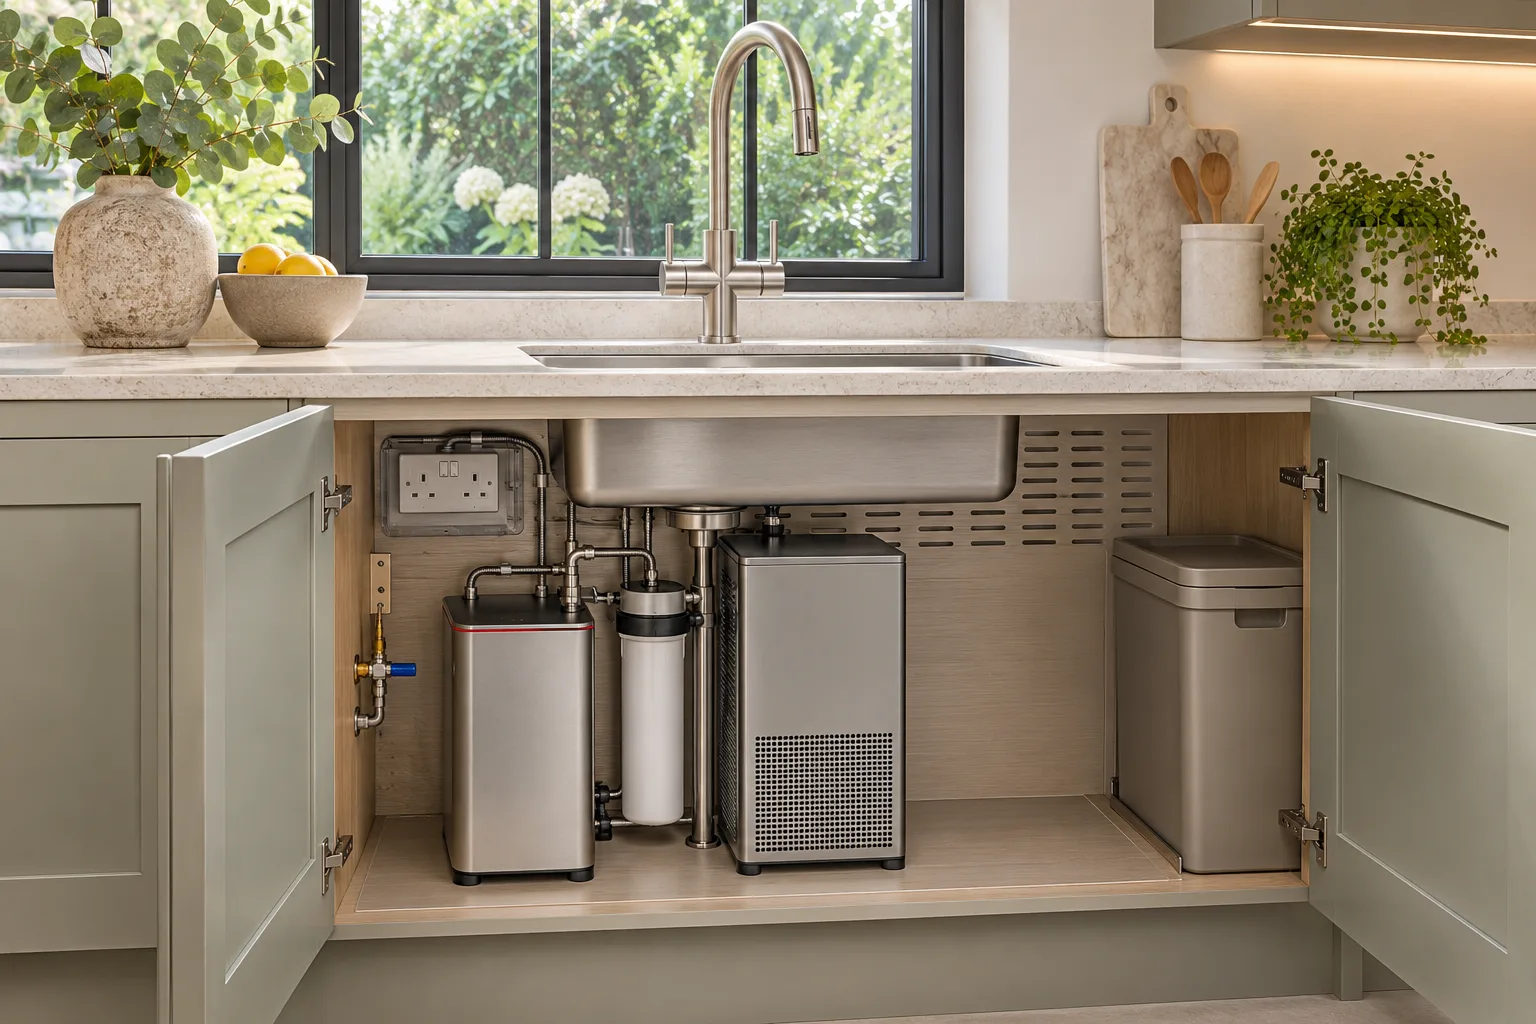
Approve a full-height elevation and representative vertical sections. Show rail profiles, finger spaces, front overhangs, end panels, fillers, worktop edges, appliance gaps, plinth continuity and opening direction. For mechanical push systems, record adjustment access and catch position. For powered opening, show drive units, power supplies, cable routes and replaceable access in coordination with qualified electrical specialists. Blum states that electrically assisted cabinets can still be opened manually during a power outage for its described system, but do not generalise that behaviour to another product. Keep all removable components reachable without dismantling finished worktops or fixed cabinetry.
Checklist before cabinet manufacture
The signed schedule should identify an opening method for every front and an unresolved status for anything awaiting appliance confirmation.
- Choose the handleless family for doors, drawers and appliances
- Test a physical front, rail and opening mechanism
- Confirm front material, thickness, weight and edge treatment
- Check runner, hinge and lift-system compatibility
- Resolve refrigerator, freezer and dishwasher opening separately
- Draw gaps, finger access, rails, fillers and end panels
- Review cleaning, fingerprints and accidental activation
- Coordinate power, drivers and replaceable access where required
- Confirm manual operation and adjustment route
- Approve one representative cabinet before repeating the system
Limitations and next step
This guide does not specify hardware loads, electrical work, appliance installation or accessibility compliance and does not instruct manufacture. Hardware ranges and appliance compatibility change, so use current documents for the exact market and model. The next step is a front-opening schedule linked to the kitchen elevations. Mark every door and drawer with its mechanism, hardware family, front weight assumption, gap, appliance dependency and service access. Review a sample with the household, cabinetmaker, hardware supplier and appliance supplier. Release production only when the visual grid and the operating method agree; a clean elevation is not resolved if the fronts cannot be opened, adjusted and maintained as intended.
Sources & further reading
Make this useful for your project.
A review of your property and priorities can turn general guidance into a defined brief.
Explore our servicesDiscuss your project