The direct answer
A modular kitchen fits when the selected cabinet sizes can be arranged within verified site dimensions while leaving workable fillers, appliance clearances, service access, door movement and circulation. Check this with a measured survey, a dimensioned module plan, appliance data and wall elevations before ordering. Do not test only the overall wall length. Existing rooms are rarely perfectly square, level or plumb, and a service shaft, window reveal or projecting pipe can remove space exactly where a standard unit needs it. The goal is not to eliminate every filler; it is to use the system deliberately and reserve bespoke work for the interfaces it actually improves.
Measure the room as three-dimensional space
Record each wall at floor, worktop and upper-cabinet height. Measure corners, diagonals and ceiling height at more than one point. Locate doors, windows, sills, beams, columns, bulkheads, service shafts and anything projecting from the wall. Mark finished surfaces rather than assuming bare-wall dimensions will remain unchanged. Photograph the room using matching references on the measured drawing. A professional survey should also distinguish information that is confirmed from information that still depends on removal or specialist investigation. Manufacturer measuring guides emphasise accurate room dimensions because the cabinet plan is only as reliable as its survey base.
- Wall lengths at several heights
- Corner angles and diagonals
- Ceiling and bulkhead levels
- Window, door and trim projections
- Service points and access zones
Build the plan from fixed constraints
Start with features that are difficult or inappropriate to move, then place the exact appliances and essential work zones. Confirm sink, cooking, refrigeration and tall-unit positions with the relevant service and ventilation requirements. Only then fill the remaining runs with standard modules. Check the manufacturer’s full size range, because nominal cabinet widths do not describe door thickness, handles, end panels, legs, plinths or worktop overhangs. Keep a running dimension chain for each wall so the arithmetic remains visible. A neat rendering without a dimension chain cannot prove the kitchen fits.
Use fillers for function, not leftovers
Fillers create installation tolerance and can let doors, drawers and handles clear an adjacent wall, casing or appliance. End panels may provide a finished face and support an intended alignment. Their widths should be shown on the plan, elevations and order list rather than described as site adjustment. Check how each filler will be scribed to an uneven wall and how its face aligns with doors. Very narrow leftover gaps are a warning that the module combination has not been resolved. Sometimes changing one cabinet size produces a calmer and more serviceable result than forcing equal units across the run.
- Door and handle clearance
- Scribing to uneven walls
- Finished end-panel thickness
- Alignment with adjacent fronts
- Installation tolerance without unusable slivers
Planning example
Consider a 3.4-metre wall with a boxed service shaft near one end and a window return at the other. The first sketch fills the nominal length with standard base units and a tall oven unit. The site survey then shows the shaft is wider at worktop height, the wall runs out slightly, and the oven door needs clearance from the return. The revised plan uses a smaller drawer module, a designed filler beside the tall unit and a scribed panel at the shaft. The lost cabinet width is modest, while doors open fully and the worktop joint moves away from the tight corner. The order is released only after the exact appliance data and finished-wall measurements are checked.
Coordinate appliances and services by exact model
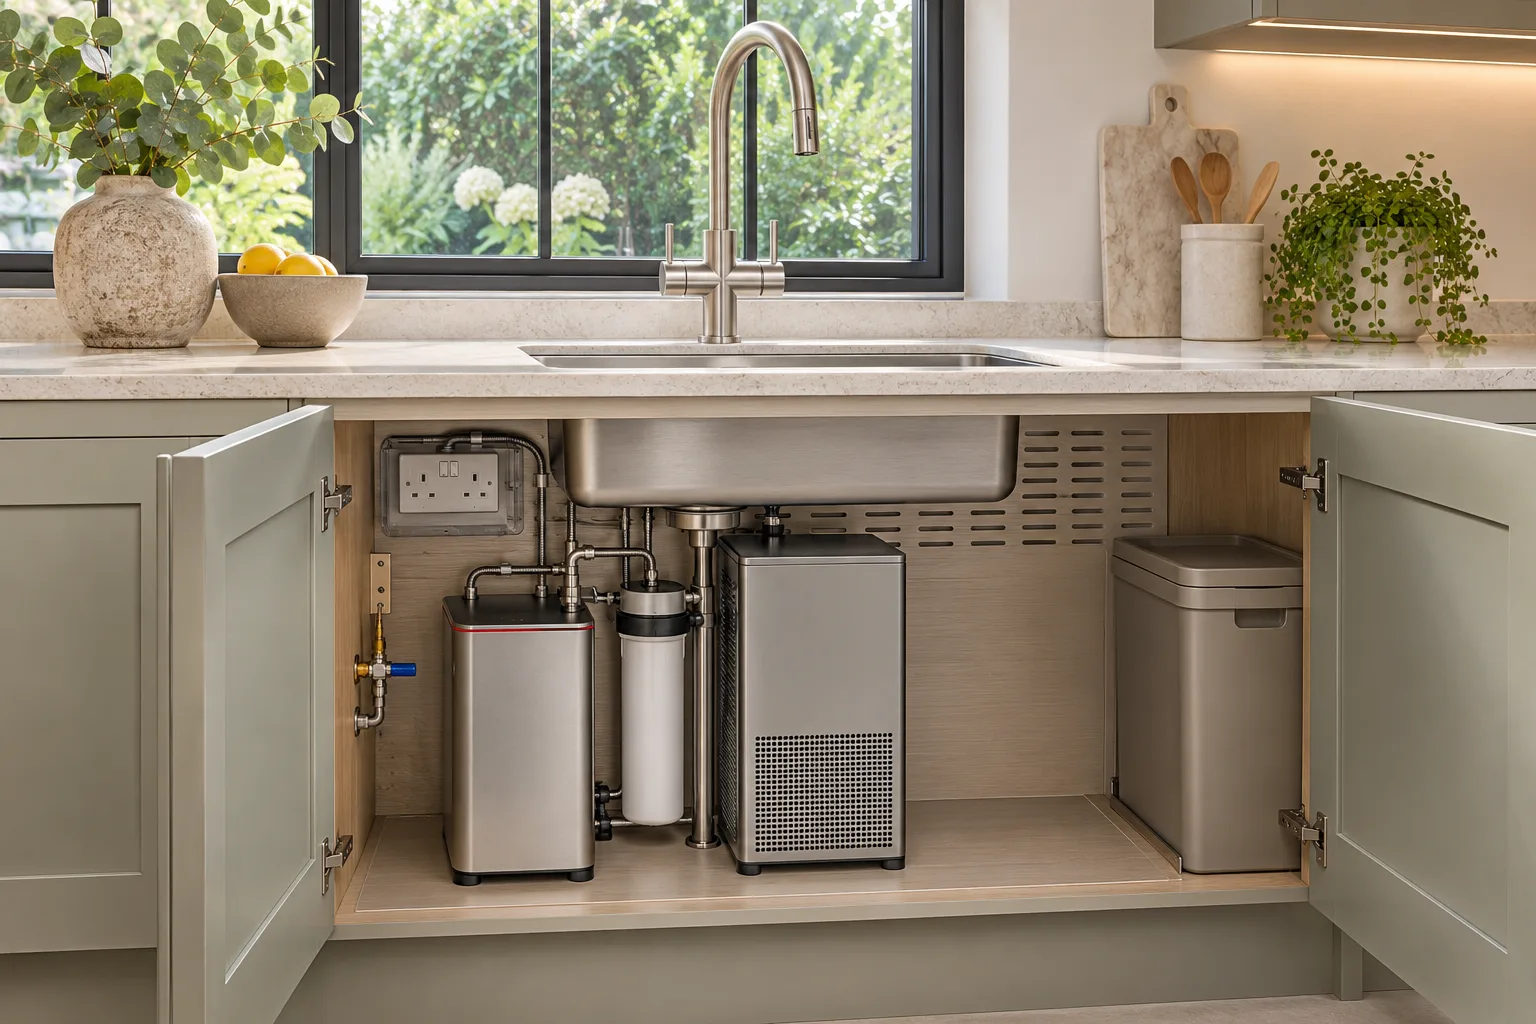
Use current manufacturer data for every appliance, sink, tap and accessory. Record overall dimensions, cut-outs, ventilation, connection zones, door or drawer travel and maintenance access. A standard-width appliance may still require specific surrounding gaps or panel arrangements. Check that sockets, valves, drains and isolators remain accessible and do not collide with drawers or internal fittings. The responsible trades and kitchen supplier should coordinate this work; it is not a homeowner installation exercise. Freeze the appliance schedule before final ordering, and control substitutions because one model change can affect several cabinets and the worktop.
- Exact model reference
- Opening and ventilation requirements
- Connection and isolation locations
- Door and drawer interaction
- Removal path for future service
Test circulation and installation access
A fitting plan is not complete until doors and drawers are shown open. Check opposing runs, island edges, dishwasher and oven doors, corner units and the route from entrance to sink and cooking areas. Then review how cabinets, long panels and worktops will reach the room. Lift, corridor and doorway constraints may affect unit assembly or worktop joint positions. Confirm the installation sequence around floor, wall finish, service preparation and templating. Standard modules can simplify manufacture, but they do not remove the need for site-ready surfaces or a coordinated installation zone.
- Open every door and drawer on plan
- Check simultaneous users and pinch points
- Confirm delivery route and component sizes
- Verify walls, floors and services are ready
- Protect the installed kitchen from later trades
Limits and next step
This method cannot confirm structural changes, electrical, plumbing, gas or ventilation work, and it does not override the selected cabinet or appliance manufacturer’s requirements. Concealed conditions may remain uncertain until the agreed investigation or removal stage. Before paying the final order deposit, request a signed-off pack containing the measured plan, dimension chains, elevations, module and filler schedule, exact appliance schedule, service coordination drawing, finish samples and list of remaining assumptions. Recheck critical dimensions on site after any preparation that changes the room. A modular kitchen succeeds when the system, the room and the installation sequence have all been reconciled.
- Verify the survey after enabling work
- Approve modules, fillers and panels
- Lock exact appliance data
- Resolve services and worktop interfaces
- Record assumptions before ordering
Sources & further reading
Make this useful for your project.
A review of your property and priorities can turn general guidance into a defined brief.
Explore our servicesDiscuss your project